Regina Chow - Singapore Fashion, Beauty & Travel Blog
  • About Me
  • Fashion
  • Travel
  • Beauty
  • Lifestyle
  • Personal Thoughts
About Me
Fashion
Travel
Beauty
Lifestyle
Personal Thoughts
Regina Chow - Singapore Fashion, Beauty & Travel Blog
  • About Me
  • Fashion
  • Travel
  • Beauty
  • Lifestyle
  • Personal Thoughts
Uncategorized

Naoki Yoshihara by Ash: Ammonia-Free and Bleach-Free Purple Highlights

December 31, 2013 by Regina Chow No Comments
https://www.facebook.com/NaokiYoshiharaByAsh?fref=ts

I decided to add purple highlights to my hair on my second visit to Naoki Yoshihara by Ash. I tried purple highlights earlier
this year when I was holidaying in Taipei and I was yearning to recreate the look once again.

https://www.facebook.com/NaokiYoshiharaByAsh?fref=ts

One of the easiest
ways to change your look is to add highlights to your hair. Not only is
it less damaging than changing your base colour, it also adds interest
and dimension to your hairstyle. What I like most about highlights is
that you can experiment with bolder hues without compromising on
professionalism and style. 

 
If you follow me on my instagram account (@reginachow_sg), you would have seen a preview of my freshly done purple highlights by Naoki Yoshihara by Ash.
https://www.facebook.com/NaokiYoshiharaByAsh?fref=ts

   
Amazingly, Naoki Yoshihara by Ash did not use bleach to achieve the purple highlights I desired. The dye was ammonia-free too, which is impressive as most salons require the use of bleach or hair dyes with ammonia to achieve striking, vibrant colours.

https://www.facebook.com/NaokiYoshiharaByAsh?fref=ts

 
 The problem with having ammonia in hairdyes is that it is actually really harmful to your hair. Ammonia has adverse effects on a protein called Tyrosine which is found in hair shafts and Tyrosine produces the melanin pigments in your hair. Ammonia damages Tyrosine, which greatly affects your hair’s ability to absorb colour. 

If you realize that your hair colour seems to fade quickly, perhaps it is time to switch to ammonia-free hair dyes for longer lasting hair colour and stronger, healthier hair! 

https://www.facebook.com/NaokiYoshiharaByAsh?fref=ts

I love the trendier and fashion
forward vibes that the contrasting purple highlights lend to my overall
appearance. It also gives my hair more movement and makes my hair look
more voluminous than before.

https://www.facebook.com/NaokiYoshiharaByAsh?fref=ts


If you are thinking of heading down to Naoki Yoshihara by Ash during the upcoming festive season, do take note of these changes:

Here are some changes to their operation hours on New Year’s Eve and New Year’s Day:
31st Dec 2013: 10.30am to 6.30pm
1st Jan 2014: Closed
 
Also, do book your appointment early to avoid surcharges during the CNY period! 
Here are the surcharges that are applicable:
From 18th Jan 2014 to 28th Jan 2014: 30% surcharge.
From 29th Jan 2014 to 30th Jan 2014: 50% surcharge.
  
Naoki Yoshihara by Ash
Address: 
177 River Valley Road
Liang Court  #02-15/16
Singapore 179030
Tel:
6333 5662
Share:
Uncategorized

Hair Tutorial: How to Style a Low Twisted Bun in 5 Minutes!

December 11, 2013 by Regina Chow No Comments

As promised, here’s another one of my 5-minute hair tutorials! 
My very thoughtful hubby booked a room at Equarius Hotel over the weekend in celebration of my birthday. We spent most of our time outdoors, either frolicking by the beach or queuing up for rides at Universal Studios. To beat the heat and humidity, the easiest and fastest way was to bun up my hair! Instead of the usual top knot bun, I went for a low bun accompanied by hair twists on both sides, a style which I personally feel is pretty Korean.
All you need to complete this hairstyle are a hair tie and a hair clip. It’s an incredibly easy way to get your hair off your face and yet look impeccably groomed.

 Step 1
Start twisting your hair on one side, beginning with the outer section and slowly working your way to the middle of your hairline.

Step 2
Once you’ve reached the middle, clip the twisted section with a bobby pin or hair clip. Then proceed to twist your hair on the other side, starting from the outer section.

Step 3 
Keep twisting your hair on the other side till you reach the middle of your hairline. Now you’ll have two beautifully twisted sections.

Step 4
Gather the twisted hair sections at the nape of your neck and start twisting the ponytail.

 Step 5
Twist the ponytail tightly as this would help to secure the twisted sections and prevent them from unraveling.

 Step 6
Twirl the twisted ponytail into a bun and secure it with a hair tie. I’m using a brown hair tie as it blends in with my hair colour.
Step 7
If you want to, you can use a couple of bobby pins to secure any loose strands. I chose to leave my bun as it is.
Step 8
Finally, add a pretty little bow in the middle to complete the look! Of course, you can also choose to omit this step if you prefer to do without hair accessories. πŸ˜‰
Hope you enjoyed this tutorial! Have a great mid-week!
Share:
Uncategorized

Hair Tutorial: How To Style An Updo In 5 Minutes!

November 24, 2013 by Regina Chow No Comments
I love experimenting with new hairstyles and am constantly on the lookout for new styles that are easy to pick up and don’t take up too much of my time since I’m always on-the-go.  This twist updo that you see here is one of my favourite go-to hairdos as it is a breeze to style and takes all but 5 minutes!

This updo is so versatile, it can easily take you from day to night. I personally think it would make a fantastic hairstyle for bridesmaids too.
Step 1

Separate your hair into 2 parts down the middle.

Step 2
Separate each part further into 2 sections. You will end up with 4 sections in total.

Step 3

 Twist each section, starting with the outermost section.
Step 4
 Roll the twisted section into a little bun.
Step 5

Secure the ends of the bun with bobby pins. I prefer to use brown bobby pins (as opposed to the black ones) as they blend in much better with my hair colour. If you’re interested, I got mine from Watsons.

Step 6
Repeat steps 3-5 until all your hair is twisted and bunned up!
Steps 7 & 8
Accessorize with a flower pin or a cute bow of your choice to complete the look!

Here’s a pictorial recap of all the steps:
Hope you found this tutorial useful! 
I’ll be sharing more hair tutorials here, so do keep a lookout for them!
 

Share:
Uncategorized

Naoki Yoshihara by Ash: Japanese Hair Salon in Singapore!

November 19, 2013 by Regina Chow 1 Comment

Naoki Yoshihara by Ash is one of the few authentic Japanese hair salons that I have come across in Singapore. If you have been following my blog, you would know that my good friend Karen and I are both ardent fans of Japanese fashion, beauty products and hairstyling, hence we absolutely couldn’t hide our excitement when my friend Iwai-san contacted us for a hairstyling session at his salon at Liang Court.

I wanted to touch up my roots and trim my ends, while Karen wanted to tone down her bright red rock-style hair for a more work appropriate look. Selecting the right hair colour to suit your skin tone and personal style is an art, and you can certainly trust Naoki Yoshihara by Ash to do it right.

Unlike most hair salons, where you dive straight into selecting a hair colour based on the latest trends, we first had our skin tone analyzed by Japanese makeup and personal image consultant, Miki Sakazaki (featured above) to better ascertain which colours would suit us best.
The consultation revealed that my skin is yellow-based and spring colours (as shown in the coloured papers below) would accentuate my skin tone and features. I was deeply
impressed by the very detailed consultation. It only goes to show how
meticulous and customer-oriented the salon is. 

It was pure coincidence that Karen and I both turned up at the salon in the same white Liz Lisa maxi dress. While I was told that white and beige hues flatter my skin tone very well, Karen found out that she should steer clear of white because of her blue-based skin tone, hence summer colours and even colours like black would suit her better. Unfortunately for me, Sakazaki san shared that black is a colour that I should avoid wearing. Looks like I need a massive overhaul of my wardrobe as most of my corporate wear are black! 

The good news was, my existing hair colour worked well with my skin tone, hence Creative Director Masami Kuramochi decided that all I needed was a trim and a touch up of my hair colour and I was good to go! 

I was amazed by Kuramochi san’s artistic eye, and the way he wielded his scissors with utmost confidence as he sculpted my hair with his deft hands. Much to my delight, he also gave me fuller bangs for a dolly look which I very much adore.

 If you are wondering why my hair looks so shiny immediately after colouring, the secret lies in Kerastase’s Cristalliste Serum. Its non-greasy, weightless formula adds luminosity and shine to your hair without weighing it down, leaving you with glossy, lustrous locks.

Then, it was image consultant Sakazaki san’s turn to work her magic on my face.  She cleansed my face thoroughly and applied a special range of placenta-based skincare before make-up application. 
The La Precia Placenta skincare products that you see here are renowned for their anti-aging properties as well as positive effects on allergy-prone skin. They are directly imported from Japan, but if you are interested in purchasing them, you can look for Sakazaki san at her shop, Miki Trinity (housed within Eye Studio Tokyo), on the 3rd floor of Liang Court.

Here are the make-up products, predominantly from Chanel and Jill Stuart, that she used on me.

The final result was a fresh, flawless natural look, achieved with neutral shades of brown and pink to complement my skin tone. I loved the overall effect of the make-up and my beautifully styled hair.

Thank you once again to Kuramochi san and Sakazaki san for the pampering session and for making Karen and myself look just as gorgeous as the Japanese ladies. I used to get my hair done in Japan whenever I had the opportunity to head to Tokyo for work, but now, I can finally have my hair styled by highly skilled Japanese hairstylists in Singapore! 
Good Japanese hair salons are hard to come by in Singapore, so if you love Japanese hairstyling, be sure to check out Naoki Yoshihara by Ash!
Naoki Yoshihara by Ash
Address: 
177 River Valley Road
Liang Court  #02-15/16
Singapore 179030
Tel:
6333 5662


Share:
Uncategorized

Hair Treatment at Jean Yip Hairdressing & Jean Yip Style of the Month Contest

August 8, 2013 by Regina Chow No Comments
 
Every once in a while, it is important to indulge in a little treat, be it a sugary sweet macaron or a much-needed massage to ease your worries away. What did you indulge in recently? 
If you follow me on Instagram, you may have found the picture above familiar. It was taken after my little treat last week, an intensive hair treatment at Jean Yip Plaza Singapura. I did my hair colour with Jean Yip not too long ago (read my previous post on Jean Yip), and this time, I decided a nourishing treatment would be necessary to ensure that my hair remains healthy.  
 

The stylist listened attentively to my concerns about my dry hair ends and subsequently recommended a combination of the Scalp Peel Treatment and Super Silk Thermal Intensive Treatment.  
This was my second Scalp Peel Treatment and I am very pleased with the results thus far. My scalp used to be relatively sensitive, and on occasions when I decided to wash my hair on alternate days, my scalp would itch. I used a clarifying scalp shampoo once a week, but even then, it never did resolve the root of the problem. 
Benefits of Scalp Peel Treatment
Most issues relating to hair loss and slow hair growth are associated with scalp problems. Did you know that shampoo and conditioner can cause scalp build up over time? Scalp build up causes hair follicles to clog up and eventually lose their ability to function. 
The Scalp Peel Treatment not only removes product buildup from shampoo and conditioner, it also removes dead skin and unclogs hair follicles to promote healthy hair growth.
 
After the first Scalp Peel Treatment, I noticed that my scalp is less oily than before and it hardly ever itches anymore, even if I only wash my hair on alternate days. I am truly impressed because I have tried scalp treatments in other salons but their effectiveness only lasted a few days.


The Super Silk Thermal Intensive Treatment is a heat-activated treatment to deeply moisturize and condition your hair. This was my first time trying this treatment and I think it is pretty effective in taming frizz. My hair looks smoother, shinier and healthier!

Have you joined Jean Yip’s Style of the Month Contest yet? 
This facebook campaign takes place from July – Sep 2013 and Jean Yip will give away a hairdressing voucher worth S$1000 every month as well as 25 consolation prizes(total worth more than S$1000) every month! 
The month of August has just begun, so keep those applications coming! 
To take part, Like Jean Yip Singapore’s Facebook Page first!
Then, follow the instructions below to participate in the contest:

Share:
Uncategorized

Jean Yip Style of the Month Campaign

July 22, 2013 by Regina Chow 2 Comments

Jean Yip Hairdressing is a household name in Singapore and for many of us living on this sunny island, this is one reputable and established salon that certainly needs no introduction. 
For those of you who are on my Facebook, you may have noticed that I was recently invited to be one of the 10 special guests for Jean Yip’s Style of the Month Campaign! It is a great honour to be able to participate in this 3-month long campaign and from now till September, Jean Yip will be working their magic on my hair. You’ll be getting regular updates on my experience too!

Before I share my first experience at Jean Yip with you, here’s some information on how you can participate in Jean Yip’s Style of the Month Contest and win some prizes!
 

So, I visited Jean
Yip’s branch at Plaza Singapura earlier this month, where my stylist
Andy, who is also the manager of the branch, gave my hair a fresh coat of colour, a trim and a variety of hair treatments.  Before I take you through the entire hair transformation, here’s a picture of myself when I first stepped into the salon, taken by Andy.

 Prior to colouring, Andy used a machine which showed the state of my scalp. As my scalp was rather oily, he recommended the Scalp Peel Treatment to remove dead skin and cleanse my hair follicles to restore optimal scalp health. This treatment also prepares your scalp for chemical treatments such as colouring, which may expose your scalp to sensitivity.

Andy then picked out a vibrant shade of blonde called Copper Golden Very Light Blond for my dye job. Thankfully for me, my hair colour is naturally brown and it absorbs colour very well, hence no bleaching is required to achieve lighter colours.
 
After colouring, my hair was treated to an Oxygen Mask. I always make it a point to do hair treatment after colouring as chemical treatments can be damaging in the long run. Given that I touch up my hair colour at least once every 2 months, it is important that the right steps are taken to maintain the condition of my hair and scalp.

Here, you’ll see how glossy and manageable my tresses are after a trim, colour and treatment. If you compare this to my before picture, you will notice that my hair definitely looks smoother, shinier and healthier!

Just when I thought that was the end, Andy surprised me with yet another type of hair treatment called Photo Biostimulation Hair Therapy. 
 Laser therapy is used in this case to revitalize and nourish hair follicles, with the aim of stimulating and accelerating hair growth. If you face hair loss issues, or even if you just prefer to have a fuller head of hair (like me!), this may just be the solution for you.


Finally, here’s the end result after about 2.5 hours at Jean Yip. I especially enjoyed the variety of hair treatments here, which sets it apart from its competitors.  
Scalp treatments at most salons only involve a scalp cream without the
use of any machines to assess your scalp condition or to remove dead skin
which clogs hair follicles. 
I personally feel that the scalp treatment here is more effective than most scalp treatments that I’ve tried. It left my scalp feeling squeaky clean and my hair felt lighter and more voluminous instantly. My bouncy, cascading curls are the best testament.

I would definitely opt for the scalp treatment again when I next visit Andy for my monthly hair indulgence. I also intend to continue with the Photo Biostimulation Hair Therapy, just to test out the results over time.

You know how
everyone leaves the salon looking fabulous, but after a day, your hair
ends up looking flat and lifeless again? Well, that certainly didn’t
happen for me. Look at how luscious my hair looks on Day 2, after a day
out in our terribly humid weather.
Do watch this space for more hair updates with Jean Yip!


Share:
Uncategorized

John Frieda Frizz Ease Range: Battling Frizz Has Never Been Easier

July 21, 2013 by Regina Chow No Comments
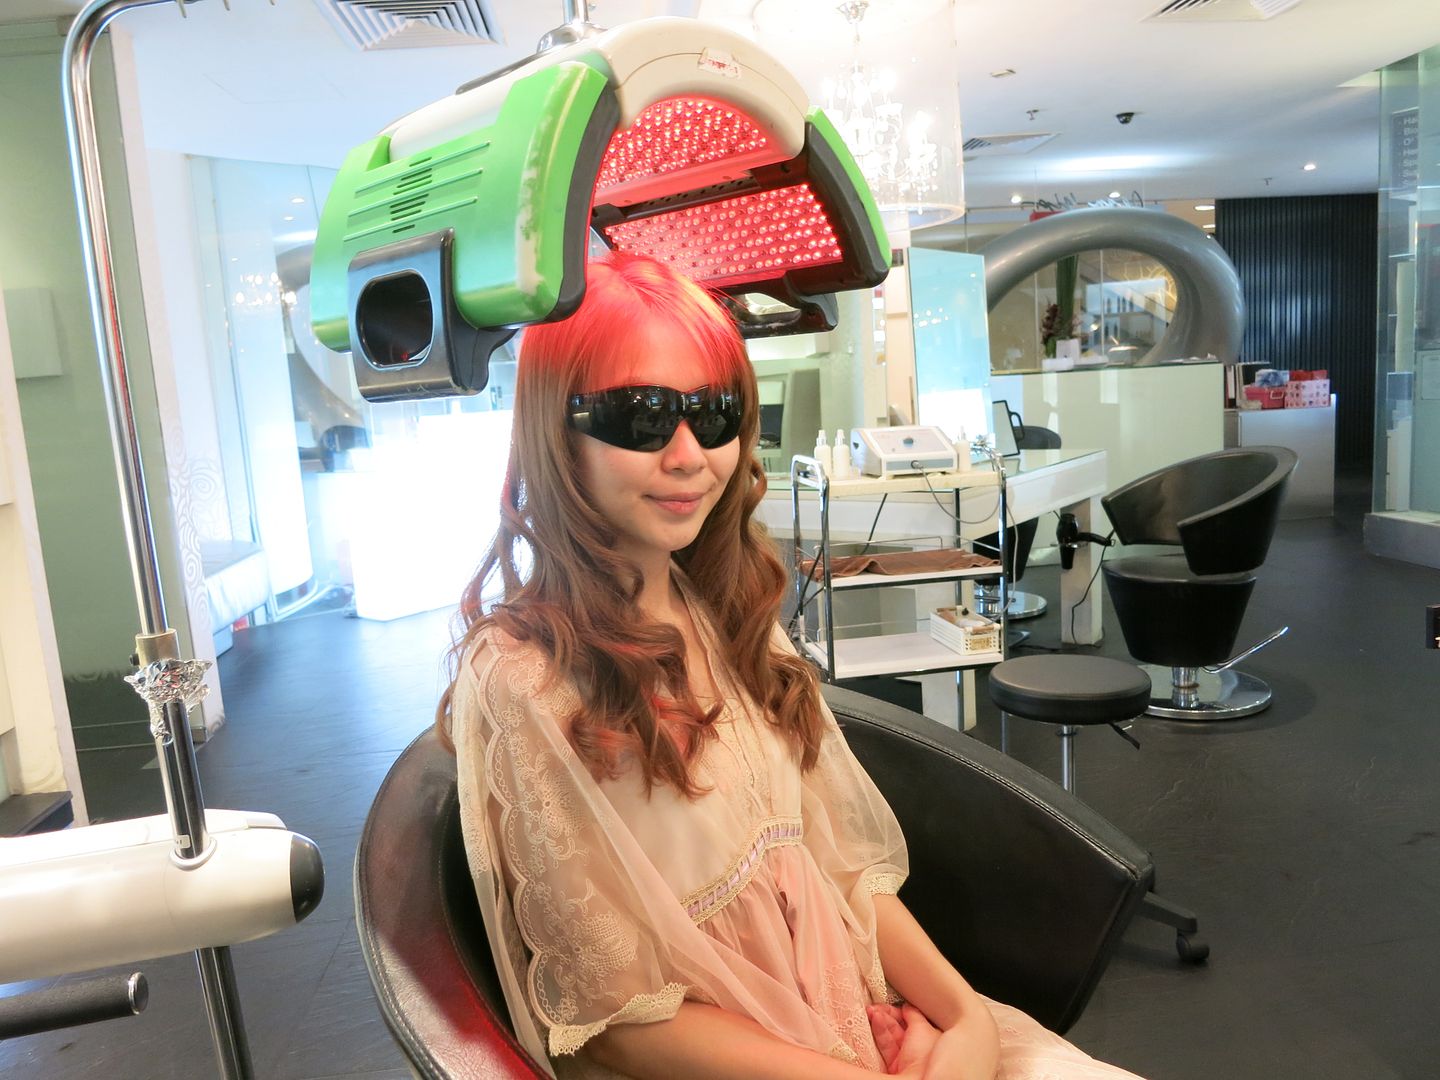
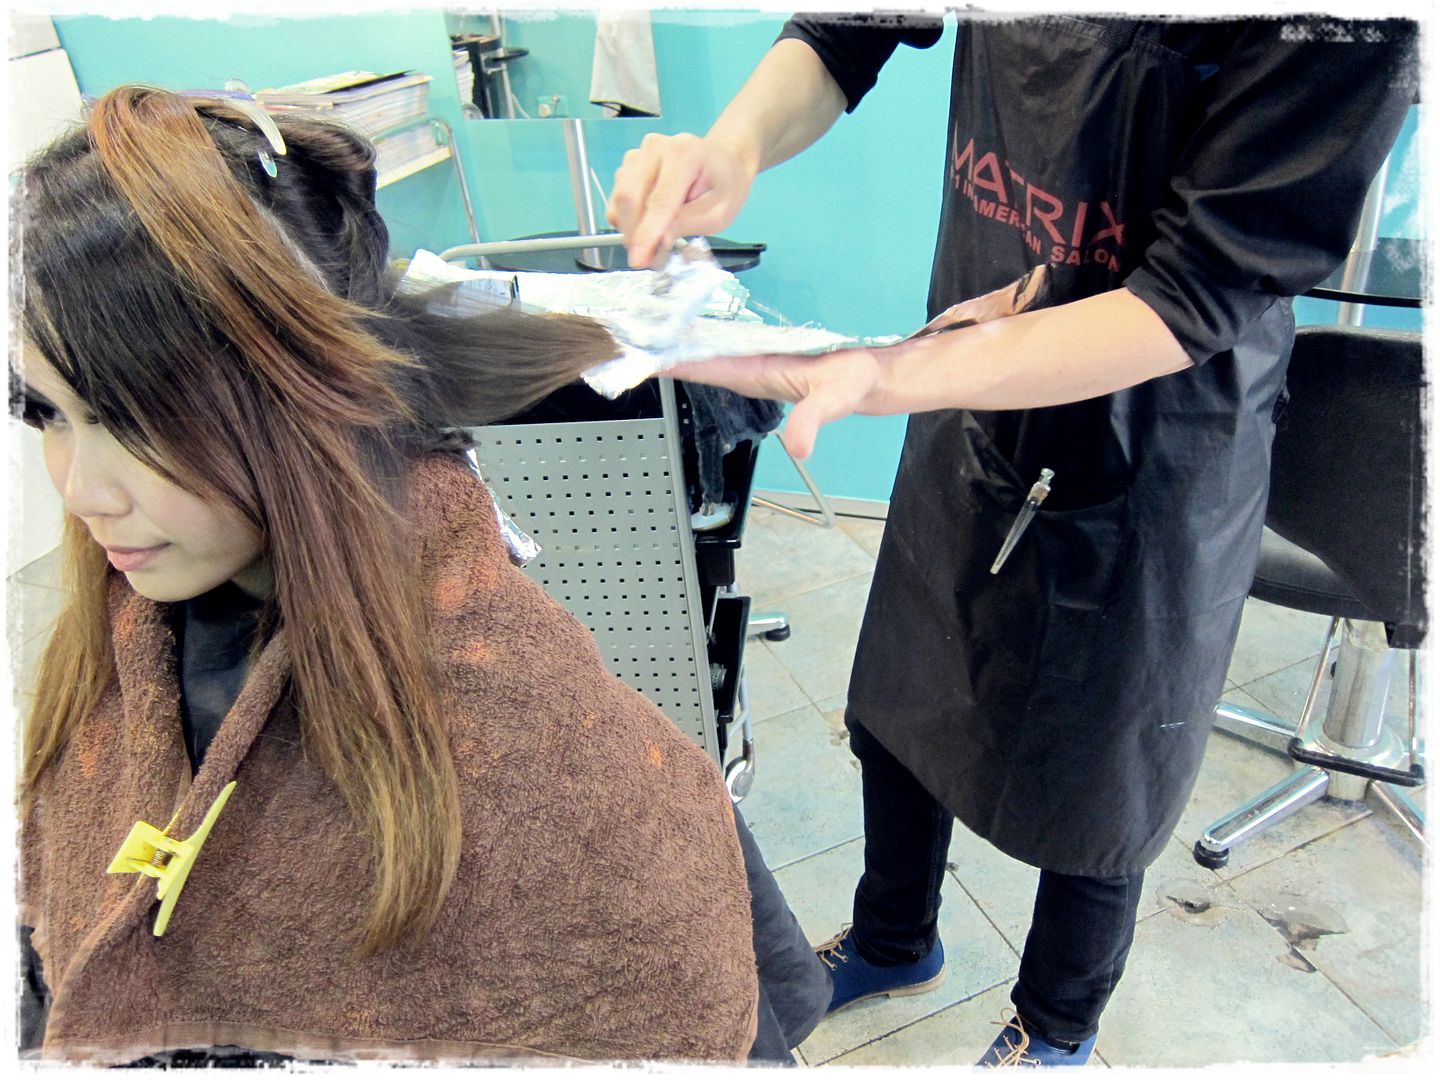
I have very fine hair which is naturally prone to flyaways and frizz. My ends are especially dull and frizzy as a result of chemical treatments like colouring and perming. While I don’t perm my hair as often these days (it has been 7 months since my last perm), repeated colouring has left my ends damaged and dry. 
Hence, you can imagine my delight when I received an invitation to try out John Frieda’s Frizz Ease range just when my current hair care products were running out. How very timely indeed!

 Background of John Frieda
John Frieda is a British celebrity hairstylist who began his hairstyling career way back in 1968 and eventually started his own line of hair products. Today, the John Frieda team is led by a team of celebrity stylists, including Kerry Warn, the hair designer for The Great Gatsby movie. 
More importantly, John Frieda’s team of stylists aims to understand and solve your biggest hair woes and transform your hair using salon-calibre products to achieve the look that you have always desired.
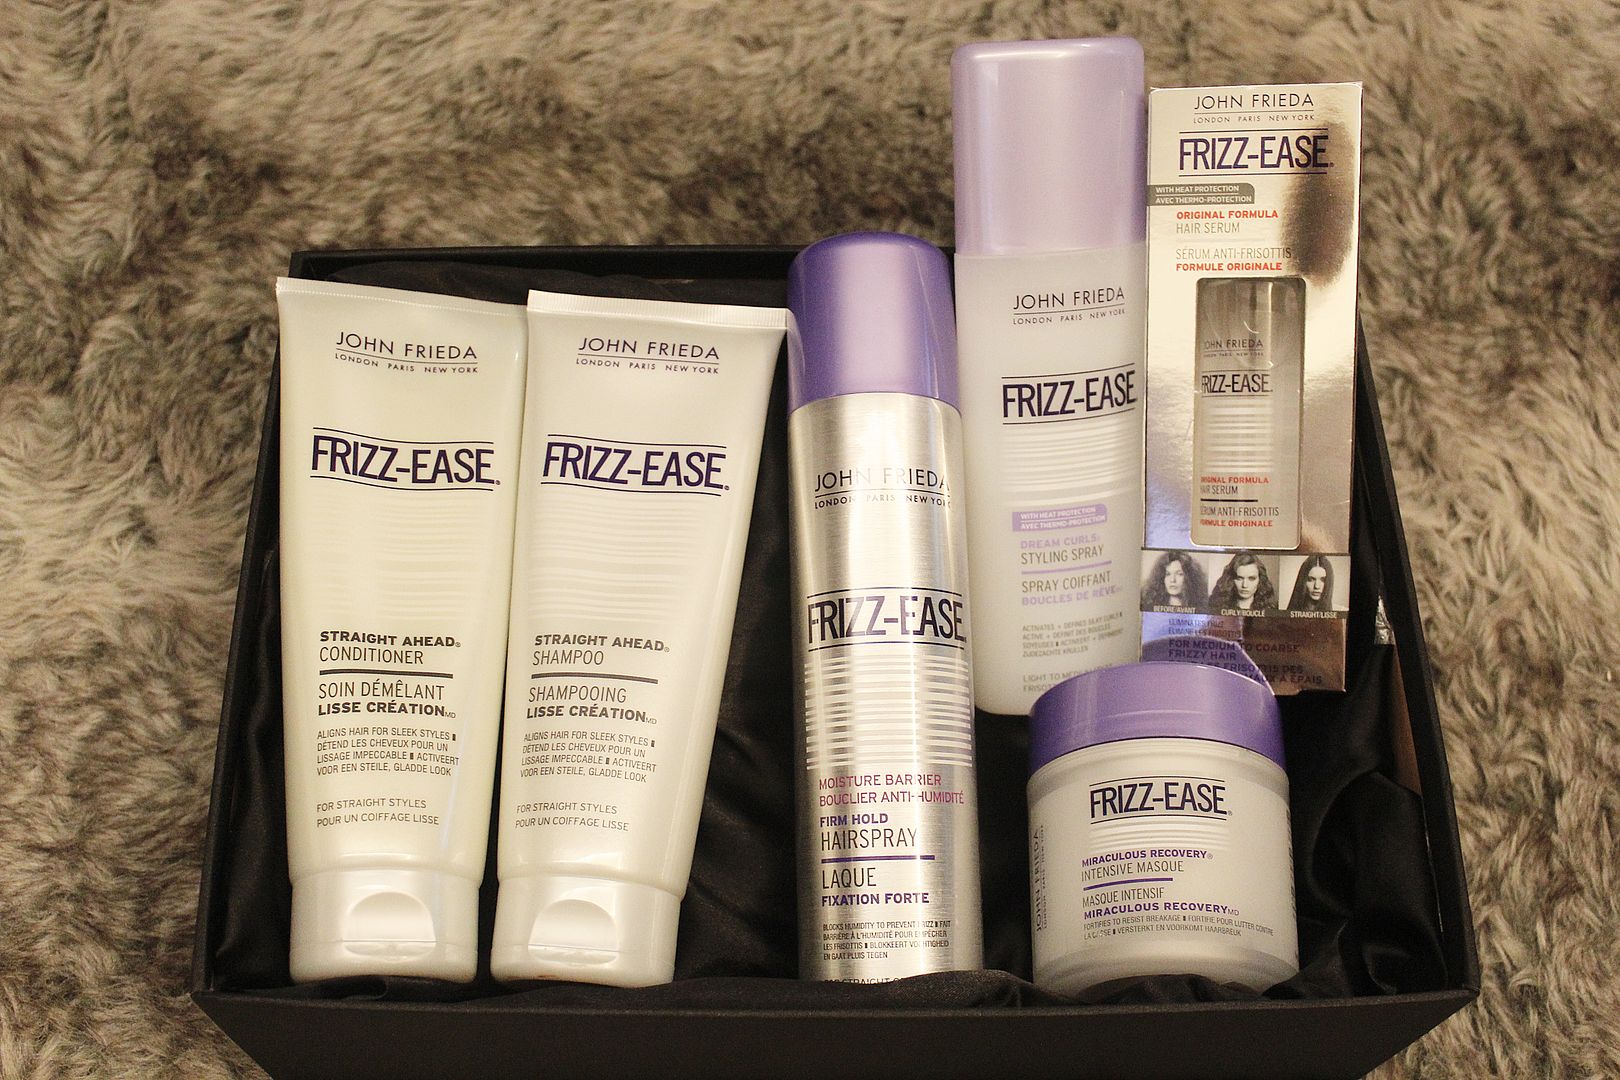
About the Frizz Ease Range 
The Frizz Ease Range is specially formulated for ladies with unruly, frizzy hair and would like to tame her tresses and keep frizz at bay.
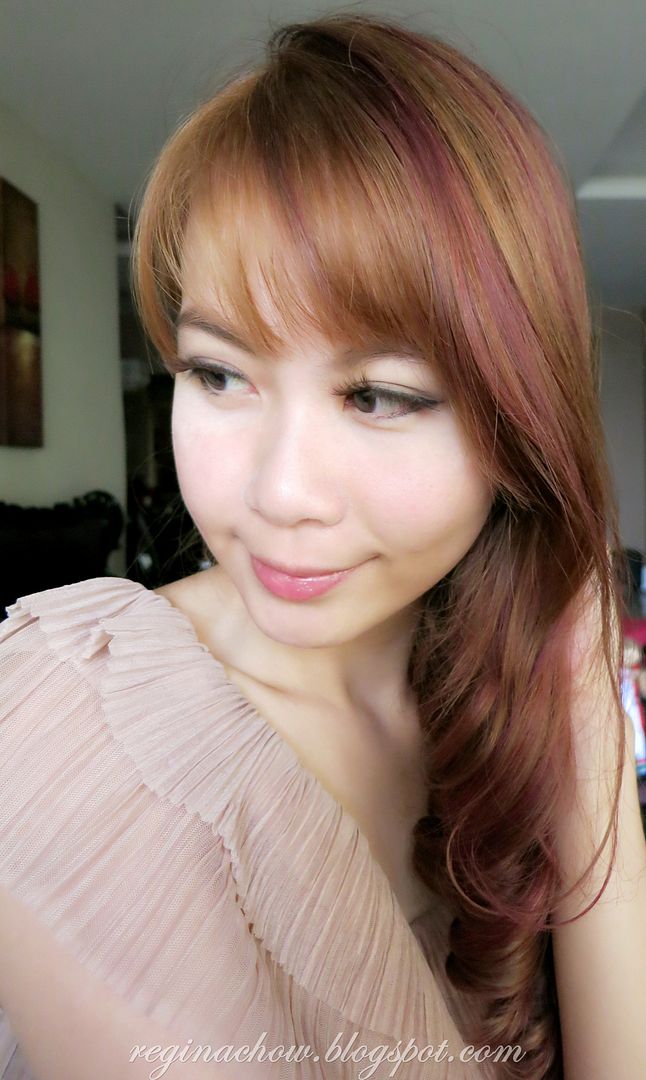
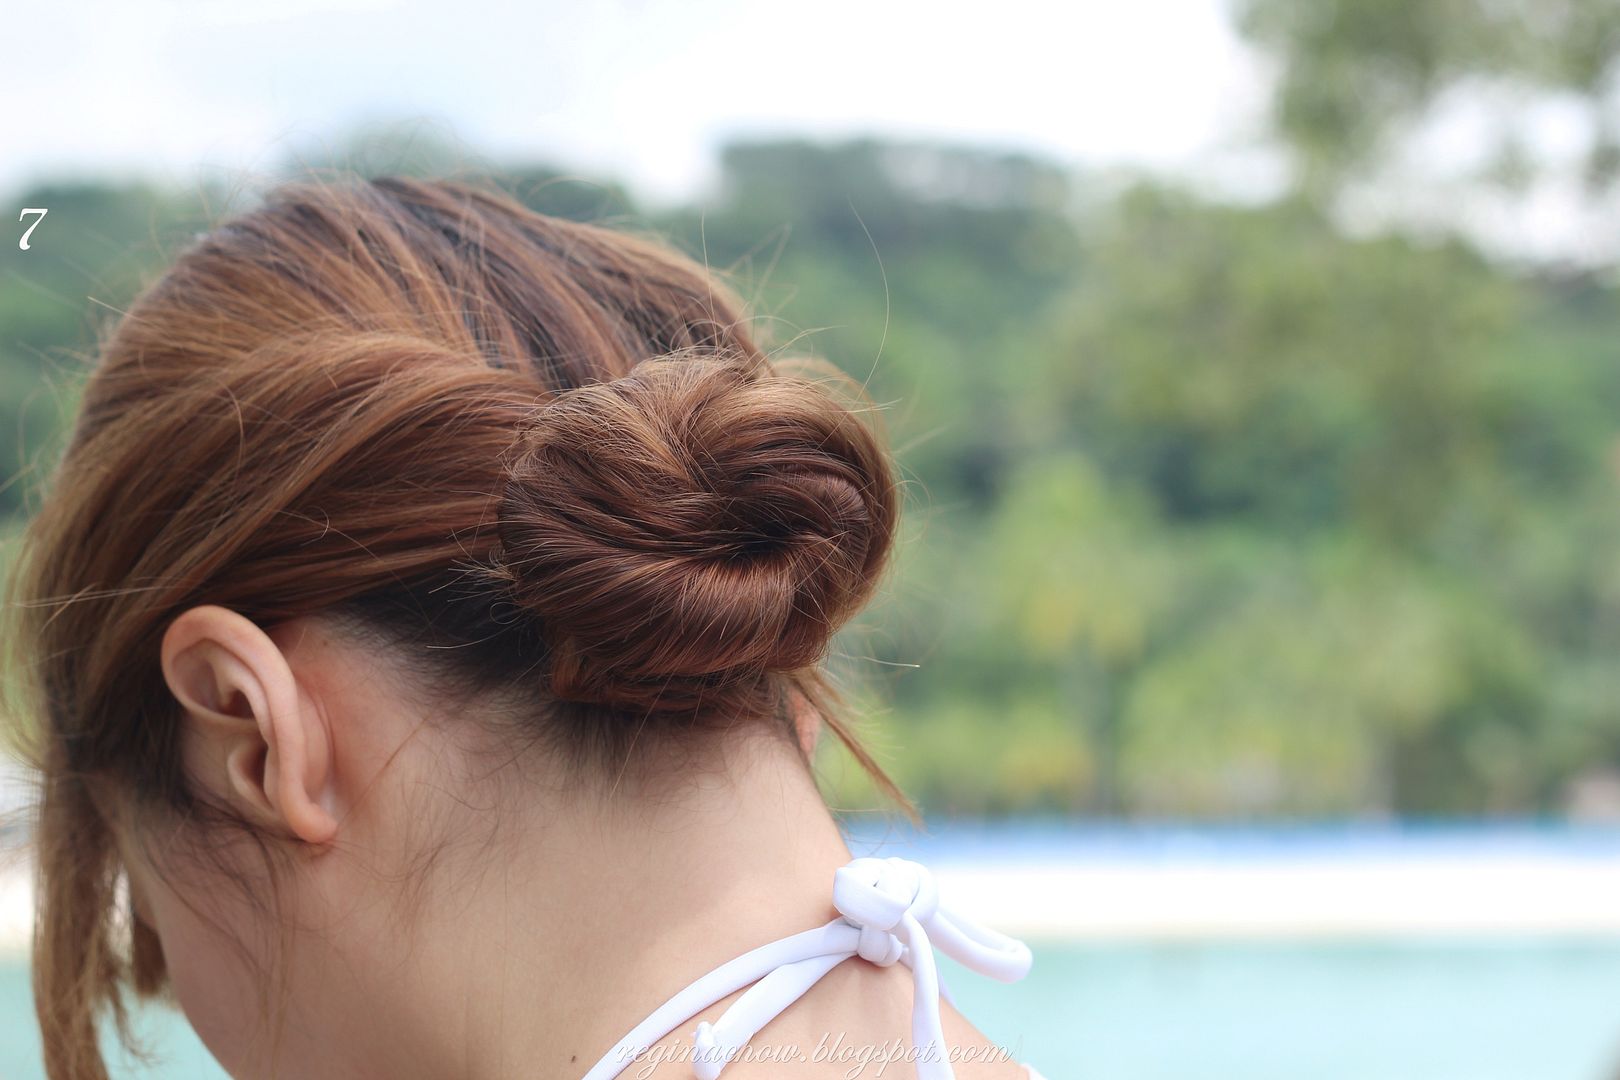
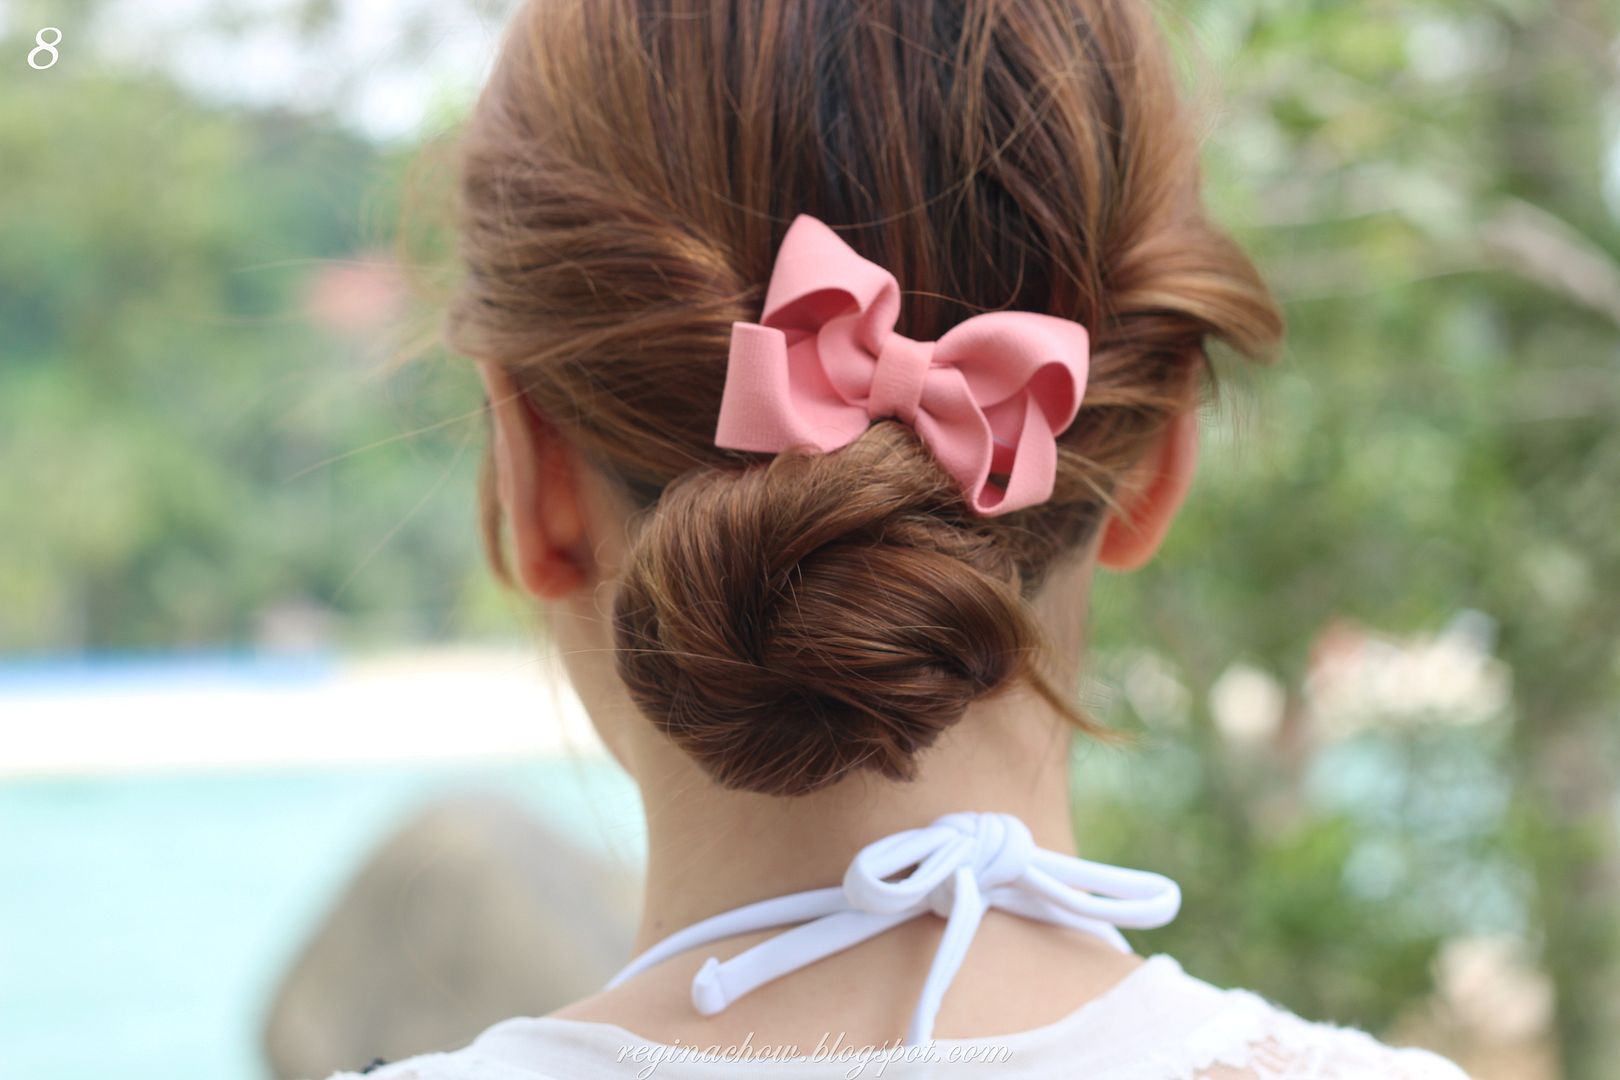
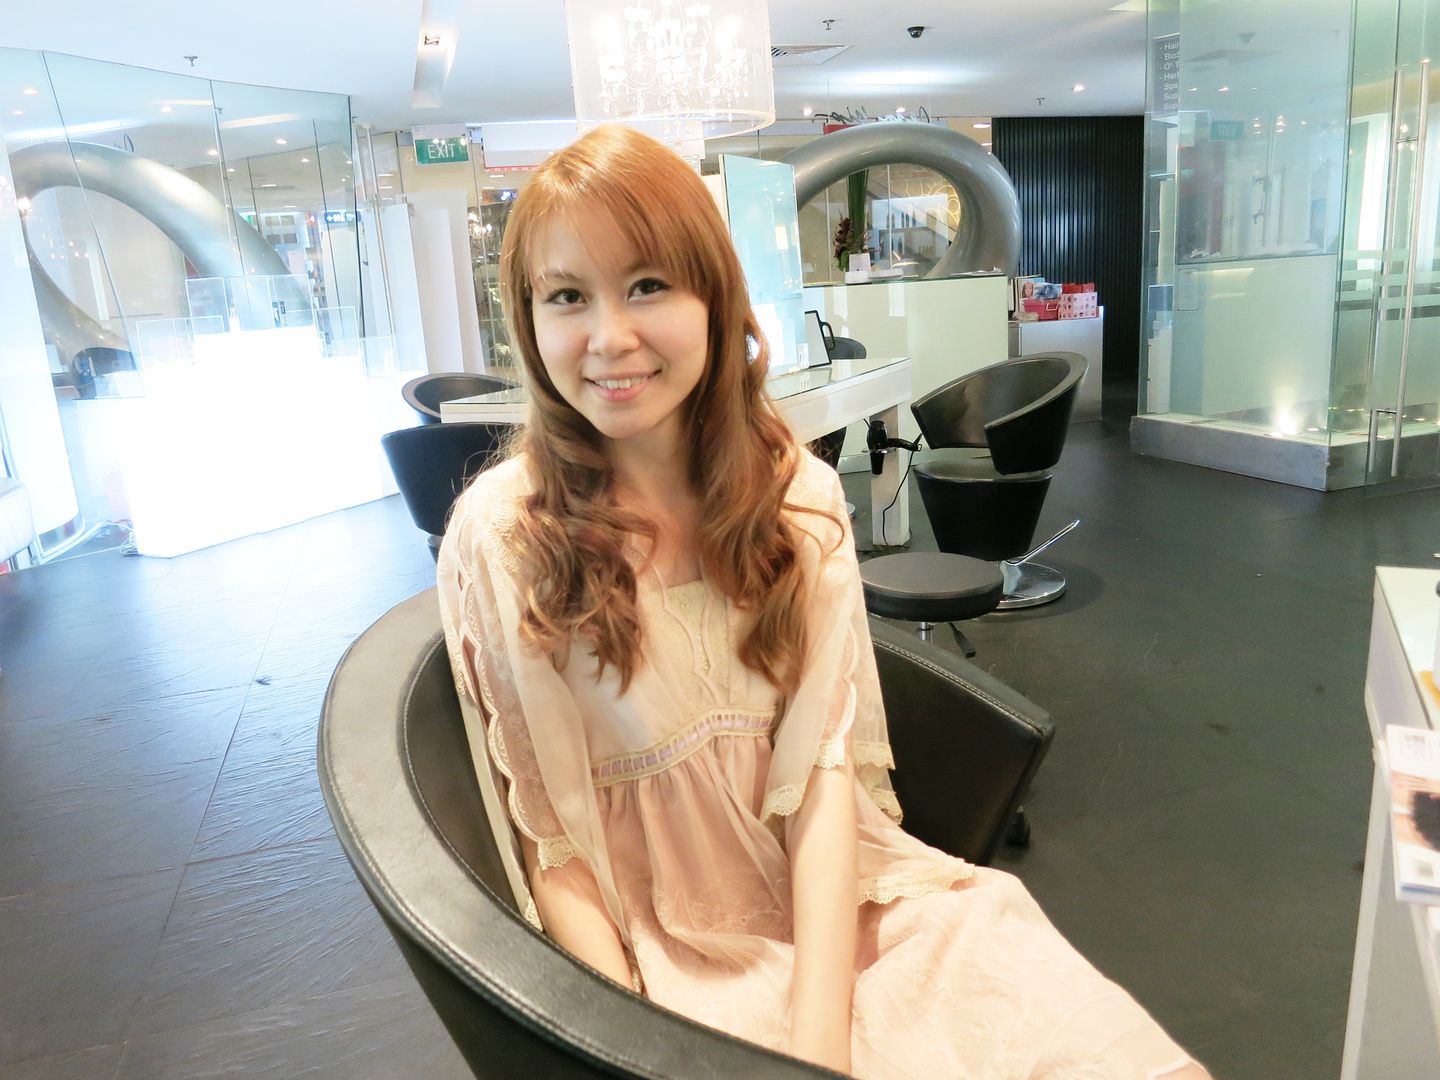
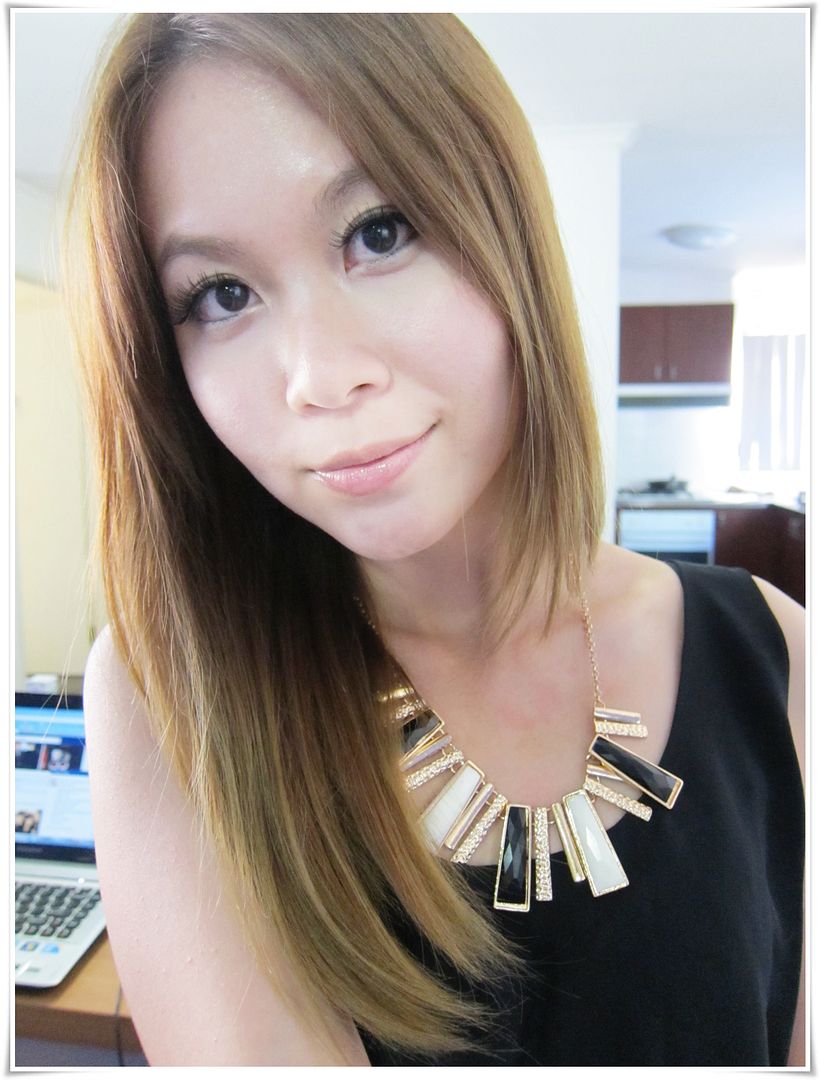
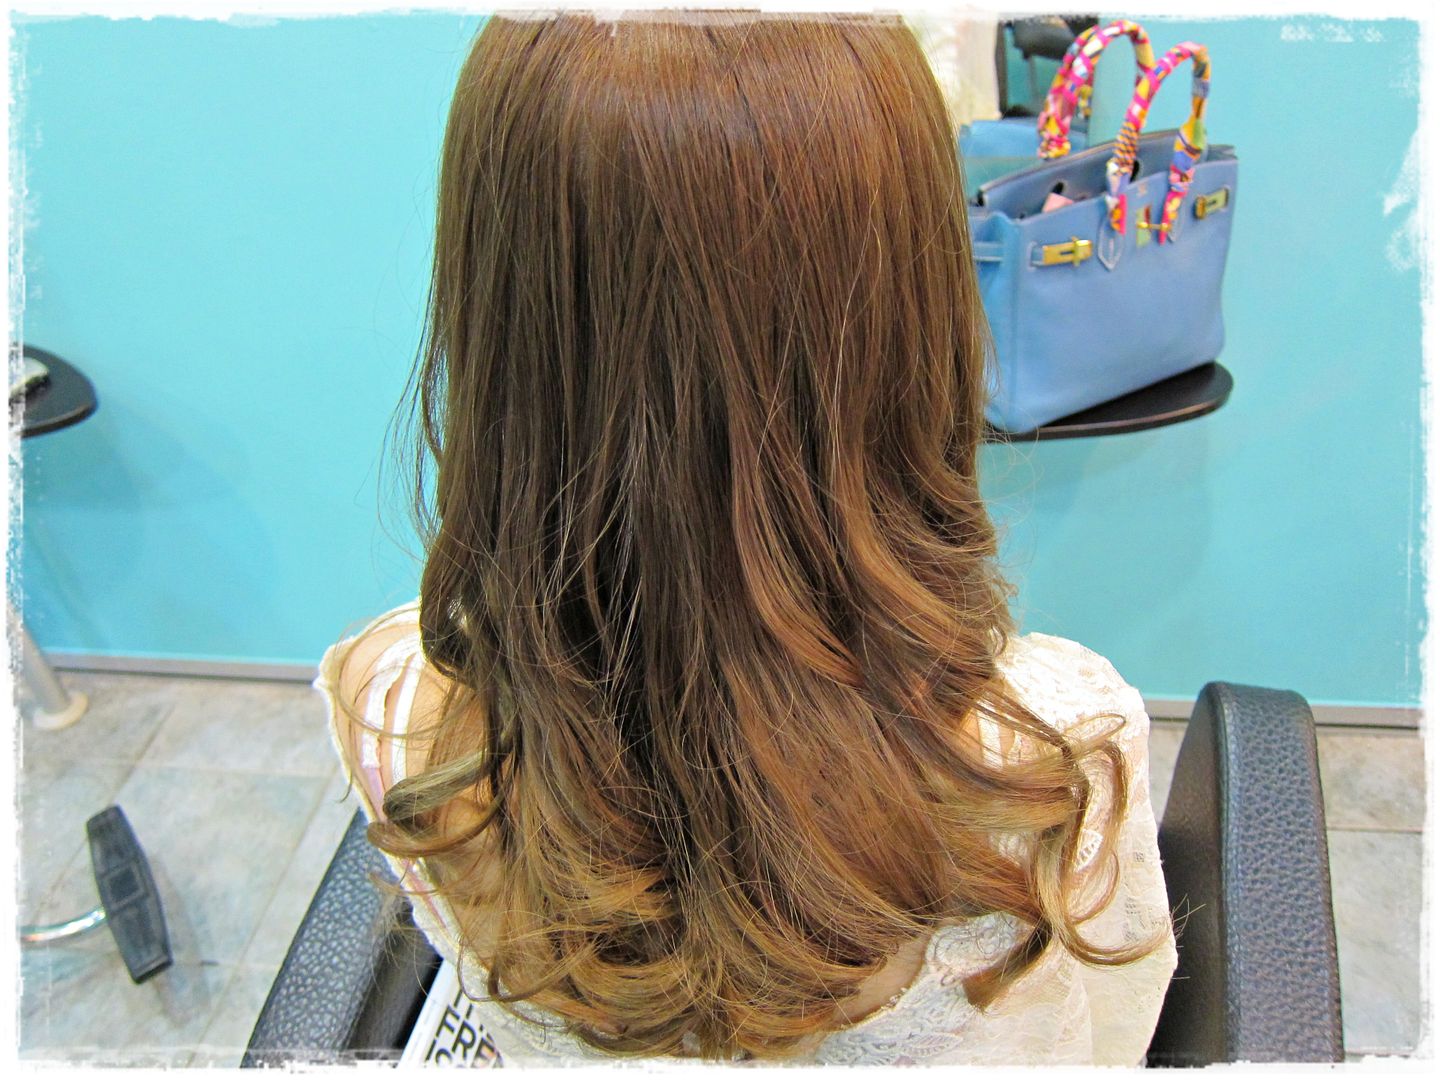
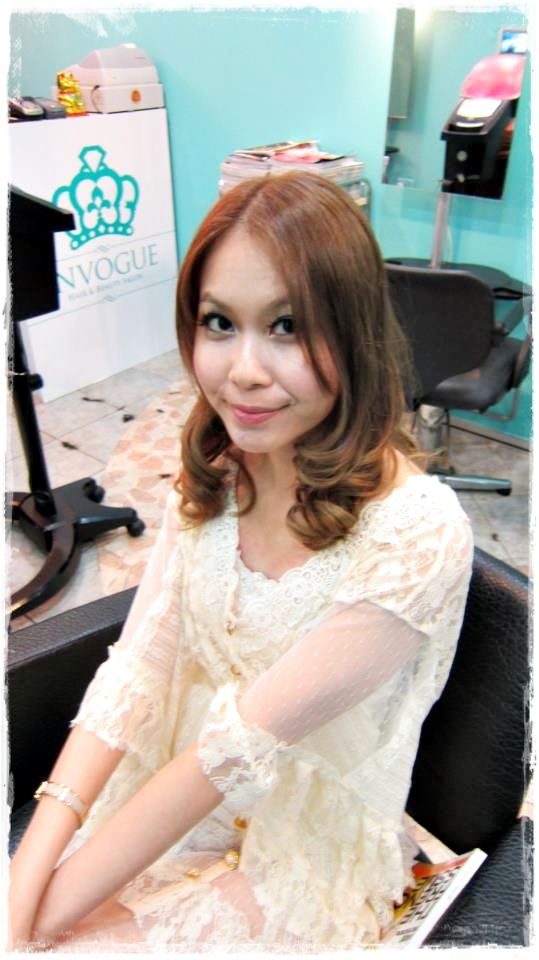
Having tried many products that claimed to battle frizz and tame flyaways, only to realize that the results were temporary, I was initially a little skeptical that John Frieda’s Frizz Ease Range would work. But, photos certainly don’t lie. Look how smooth and glossy my hair was after just one day of usage!


Even JW
complimented me on my hair when I first switched over to John Frieda’s
products, which really surprised me because he usually doesn’t notice anything. I guess that only means that the products do work!

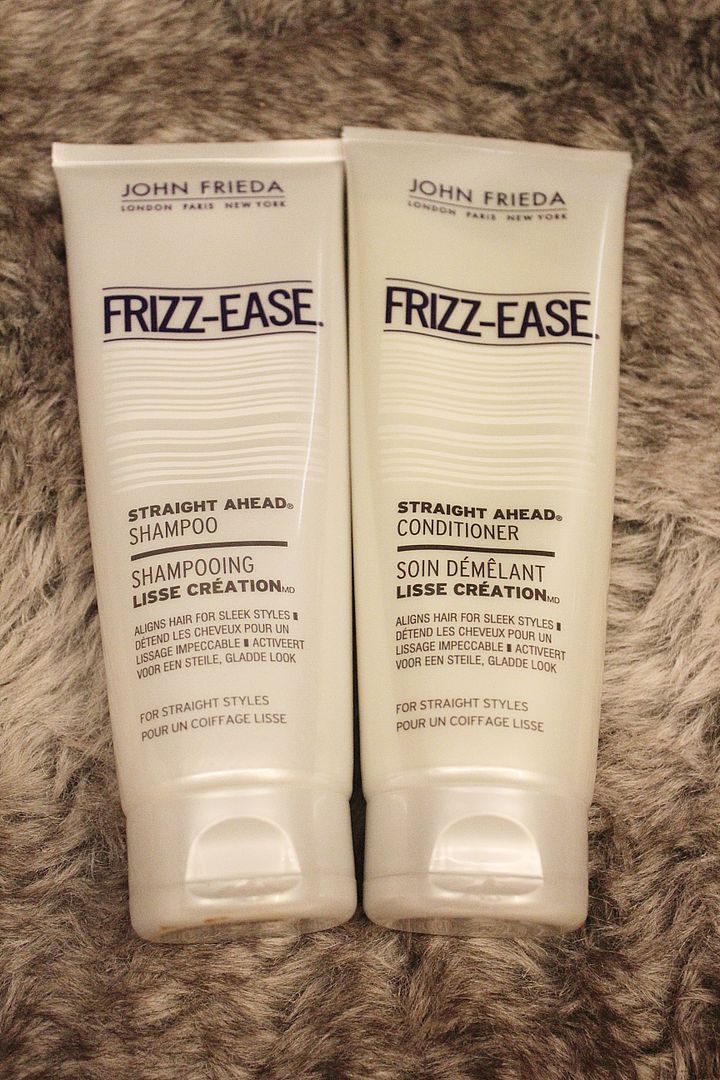
Step 1: Frizz-Ease Straight Ahead Shampoo & Conditioner
 
Most moisturizing shampoos weigh my hair down. Some even leave a residual film in my hair which causes my scalp to itch. 
Surprisingly, the Frizz-Ease Straight Ahead Shampoo turned out to be different. The lightweight formula delivers moisture to my hair without any residue. My scalp feels clean and my hair is smoother and silkier. 
I have used many types of conditioners, including several famous salon brands, but my vote goes to the Frizz-Ease Straight Ahead Conditioner as it is the best conditioner I’ve used thus far. The unique formula comprises a Frizz Mending complex and olive oil which boosts moisture and provides optimal nourishment to my hair. My hair immediately feels softer and more manageable.
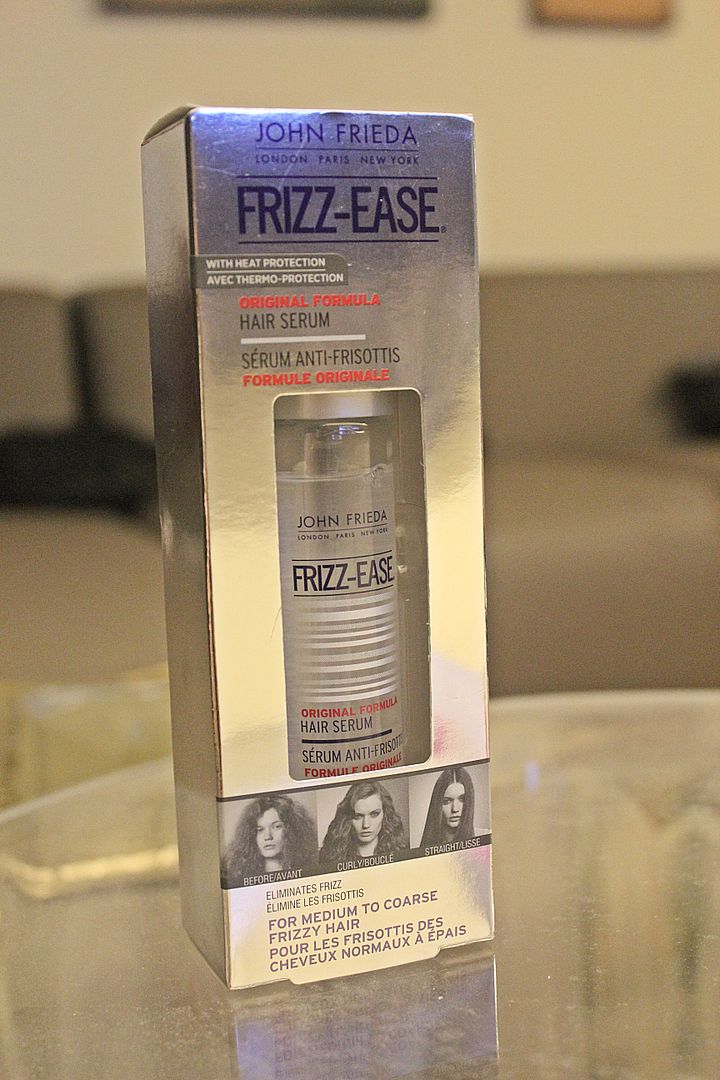
Step 2: Frizz Ease Hair Serum
The Frizz Ease Hair Serum for Medium to Coarse Frizzy Hair is the most highly acclaimed hair product in the entire Frizz Ease Range. Voted as the best styling and anti-frizz product in over 10 magazines in the UK and US, this award-winning serum is also John Frieda’s best-selling product, with 1 bottle being sold every 30 seconds.
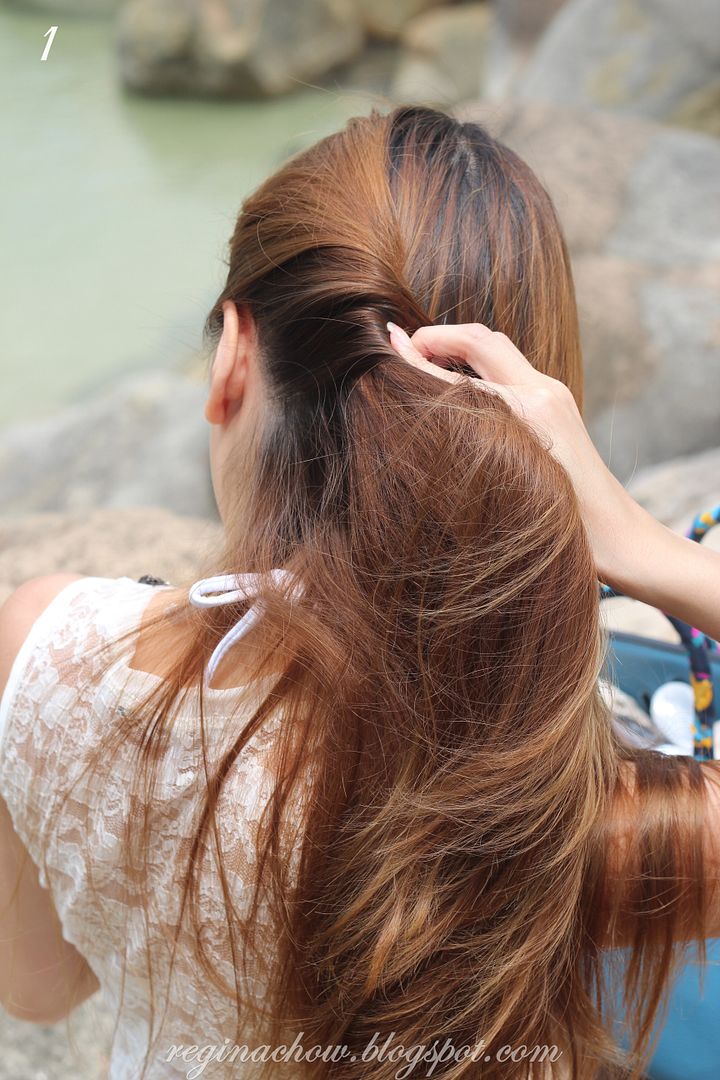
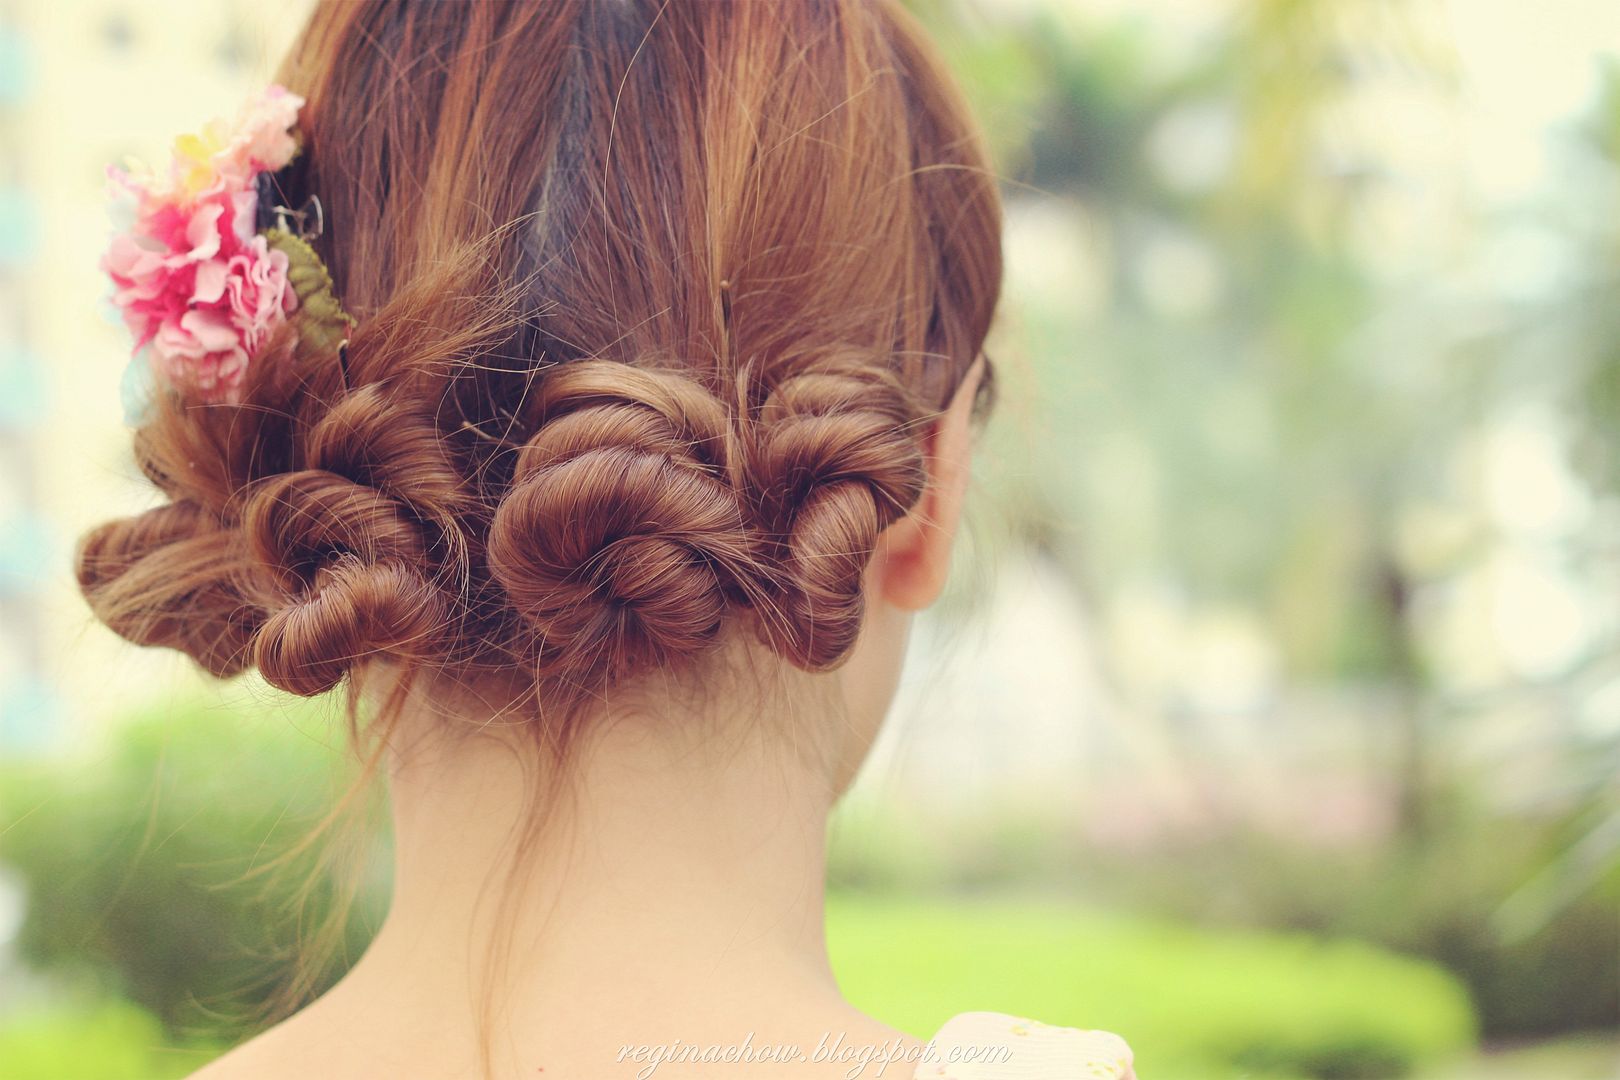
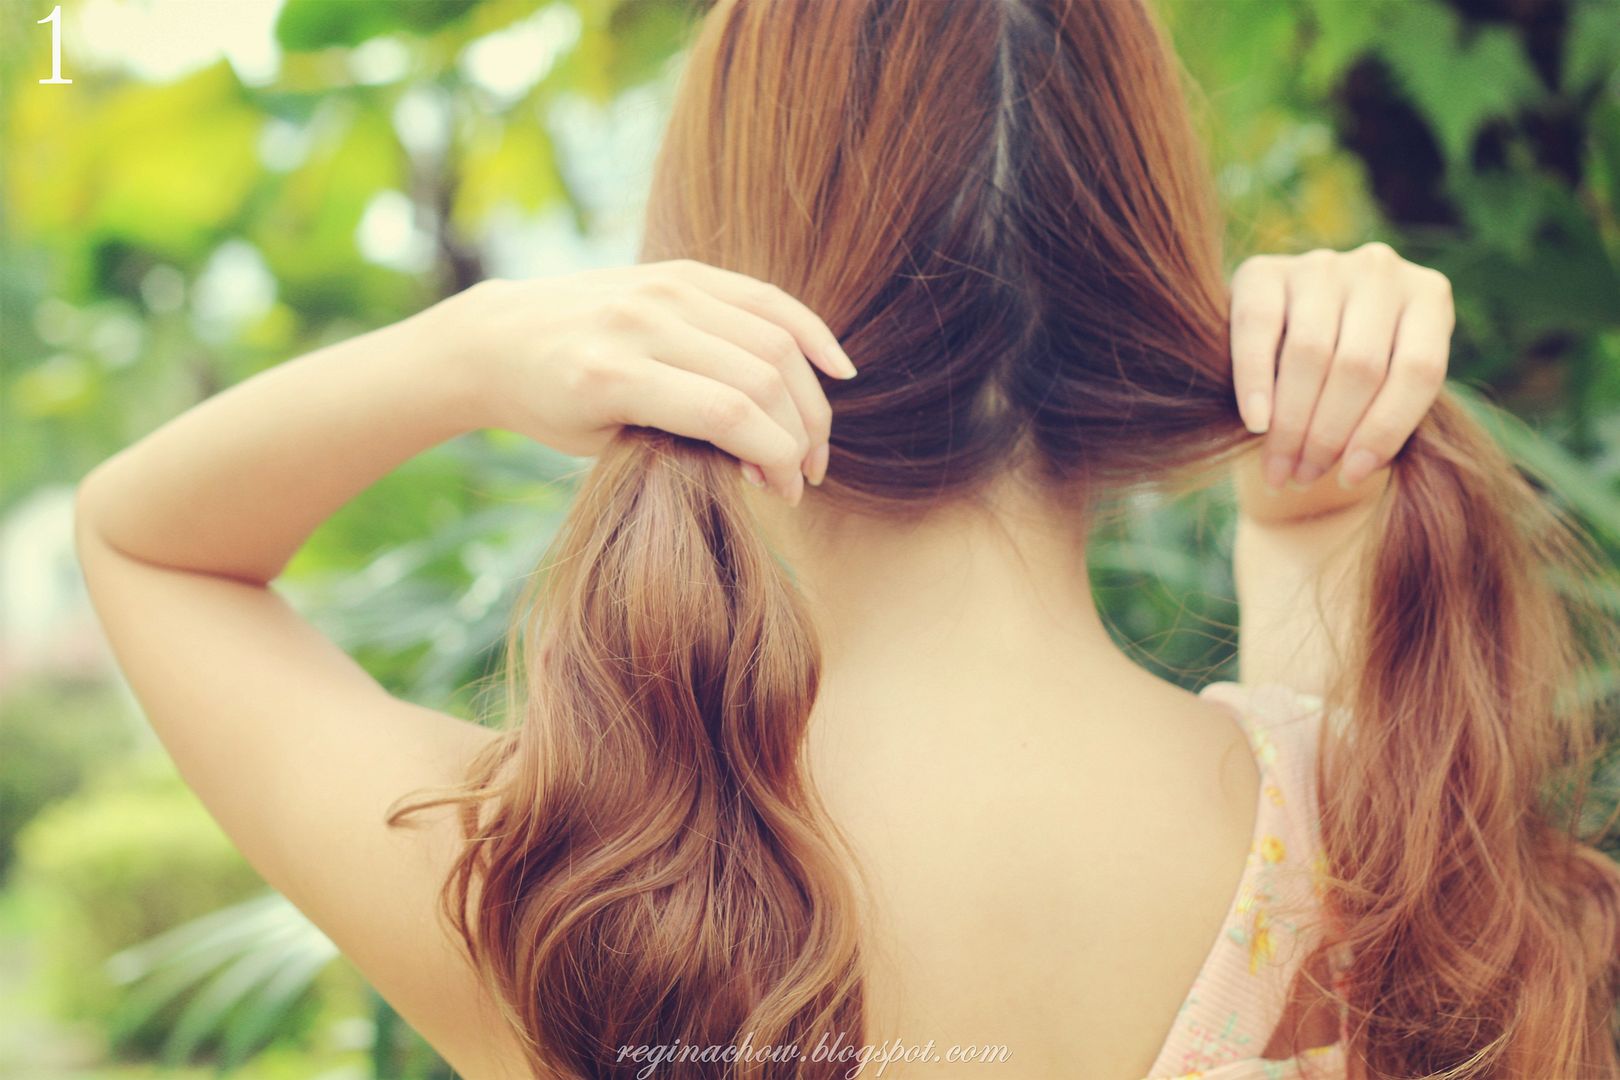
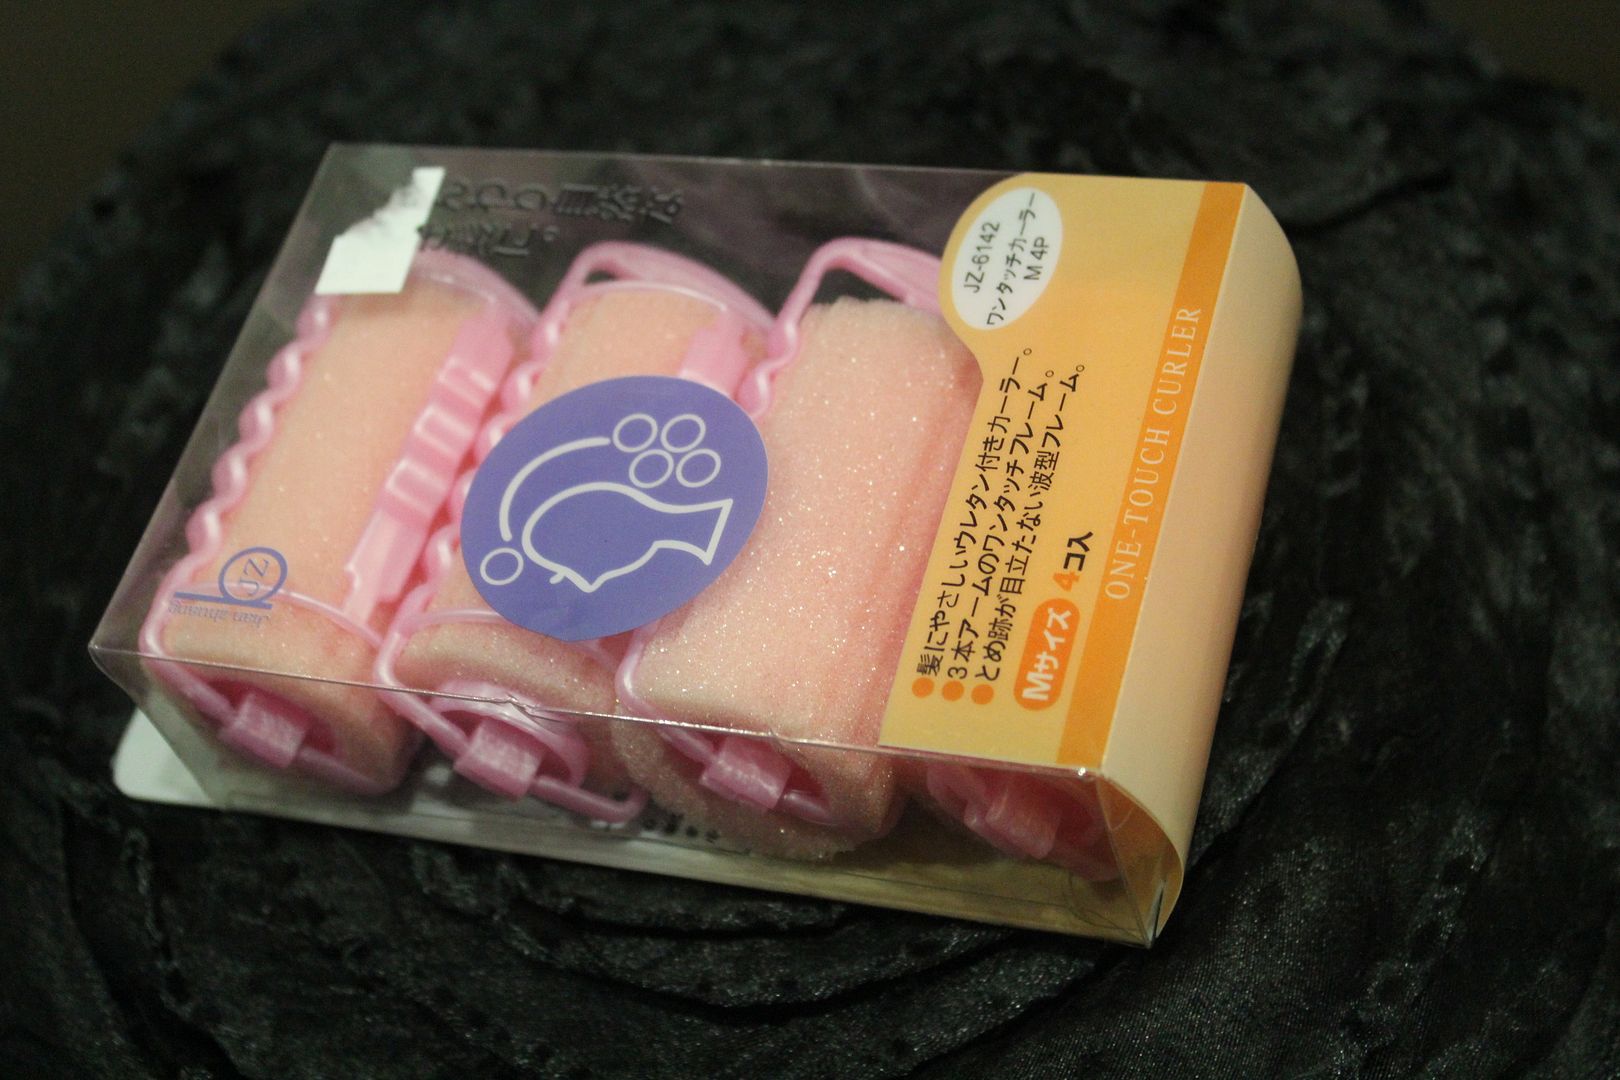
For those of you who have been reading my blog, you would probably know that I sleep with sponge curlers to achieve my curls. Sponge curlers deliver bouncier and more long-lasting curls as compared to curling tongs. More importantly, the absence of heat also means that this curling method does not damage my hair at all. 
 I have been applying this serum on damp hair everyday after shampoo and conditioner, before I use my sponge curlers, and the results have been nothing short of amazing. Not only does the serum help to seal in moisture and tame frizz through its humidity repelling formulation, it also lends a healthy shine to my tresses. My hair remains glossy lasts throughout the day until my next shampoo! This is my favourite product out of the entire range.
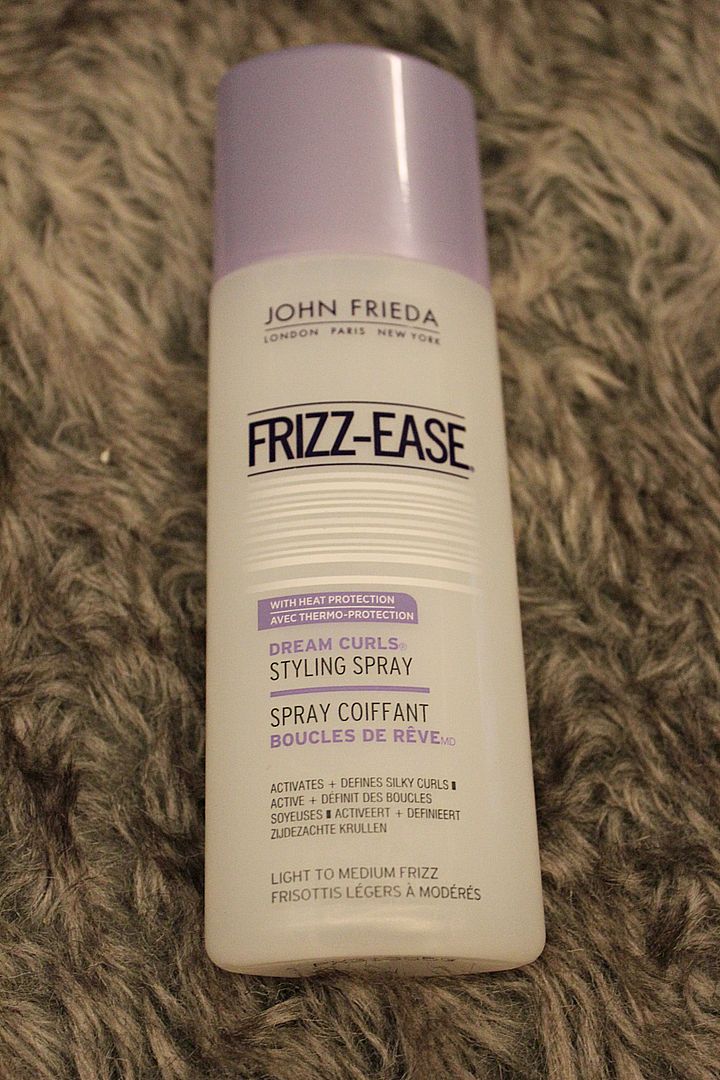
Step 3: Dream Curls Styling Spray
 I use the Dream Curls Styling Spray together with the Frizz Ease Serum to achieve bouncier, more defined curls. Its non-alcohol and magnesium-enriched formula penetrates every strand of hair to restore elasticity and spring. After smoothing on the serum, I spray a light mist of this styling product on my hair ends before proceeding to curl my hair with my sponge curlers.  
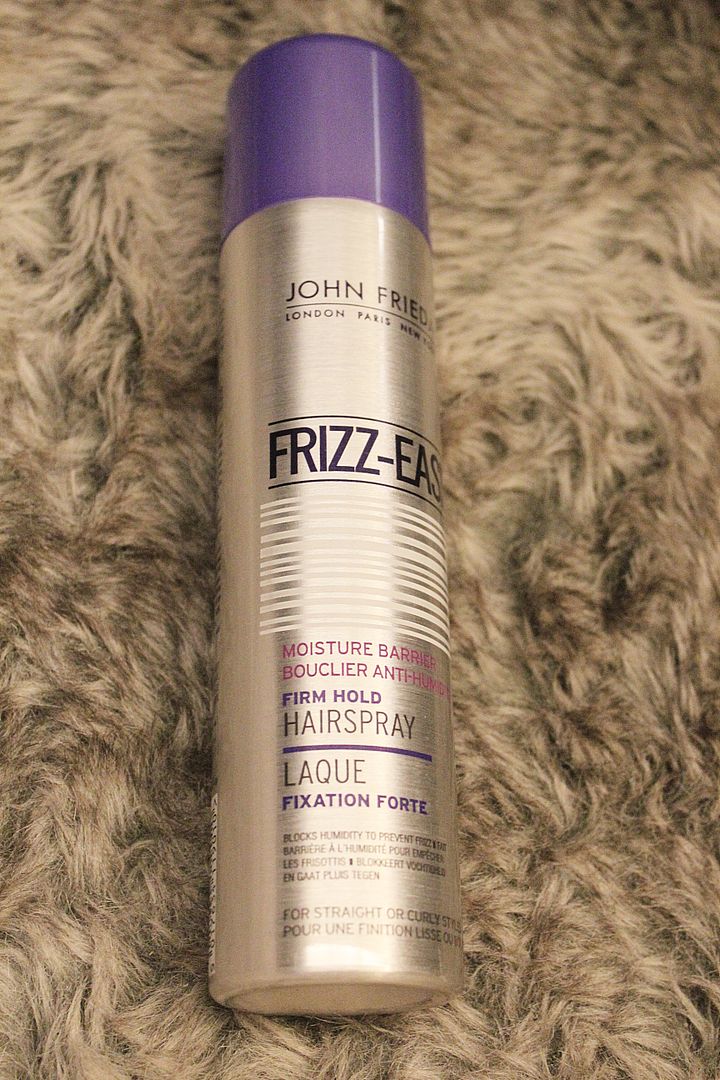
On days when I attend functions and events, I would also lightly spritz the Frizz Ease Firm Hold Hairspray all over my hair for better hold. I like that it contains sunscreen and can protect your hair from harmful UV rays.
Weekly Intensive Care: Frizz Ease Miraculous Recovery Intensive Masque
This masque replenishes moisture to restore balance, shine and softness for frizz-defying results. Formulated with milk protein, Vitamin E and Avocado Oil, it mends the hair surface and transforms dry, brittle hair into silky soft hair. I have used this twice so far, and a little goes a long way. I can foresee that this tub will last me a couple of months at least.


Overall Review
I only decided to
write a comprehensive review 2 weeks after using this range because I
wanted to test if the results would last, and I am happy to report that 2
weeks on, my hair has remained smooth and shiny. I wouldn’t say my hair
is completely frizz free now, but it is approximately 90% frizz free,
which is good enough for me. 
If you’ve an issue with frizzy hair, give John Frieda’s Frizz Ease range a go!
For more information, do visit John Frieda’s website:
http://www.johnfrieda.com.sg
John Frieda Frizz Ease Range can also be found in selected Watsons stores and Guardian pharmacies.
Share:
Uncategorized

Purple Highlights in Taipei

April 15, 2013 by Regina Chow No Comments
 I
just returned from a work trip to China and am in the midst of
unpacking my luggage, finishing up some work and also sorting out all
the photos from my Taipei trip (erm I still have photos from Australia
and New Zealand too!) as well as from several blogger events/reviews.
 To start the ball rolling, I thought I’ll just share some photos of my new hairstyle. πŸ˜‰
I wanted to get highlights done in Taipei and my friend recommended that I try out Crazy Cut Salon located across Rainbow Hotel at Ximending. Her regular stylist, Angel, suggested I go with either dark purple highlights or greenish ash highlights. I thought it would be an interesting change to have purple highlights, since ash is way too similar to my base colour. 
My only reservation was that I was afraid the purple highlights would turn out too bold and inappropriate for work, but Angel assured me that it would blend in very well with my existing base colour.

These photos were taken indoors and they have not been edited in any way. Isn’t it amazing how subtle the purple highlights are?

This is what it looks like under sunlight, 2 weeks after my colour job (photo taken from Instagram @reginachow_sg)

The colour is definitely more obvious under sunlight, but it is still somewhat subtle and not too in-your-face.
I took the opportunity to touch up my roots at the salon as well and the entire process took a little over 3 hours. The service was wonderful and I was really happy with the end result! The best part was, the total cost was extremely affordable compared to prices in Singapore. I had my roots touched up, highlights and also treatment done at about S$180! I would highly recommend Angel at Crazy Cut Salon if you’re thinking of getting your hair done in Taipei. πŸ™‚
Alright, enough of my hair for now. I will be sharing more about Taipei in a bit, but meanwhile, have a great week ahead!


Share:
Uncategorized

How to make your Hair Colour Last Longer

November 6, 2012 by Regina Chow 1 Comment

I’ve had coloured hair for close to 10 years now (gosh I’m old!). For those of you who’ve known me for a while, you will realize that I’m especially drawn to light brown/ash shades. Unfortunately, such colours are very prone to fading and require higher maintenance as touch-ups are needed every 4-8 weeks. After seeking advice from hairstylists, doing research on the internet and learning through trial and error, I decided to compile some tips to make the most out of your colour by prolonging its life. They’ve worked well for me, so I hope you’ll find them useful too! 

 
1) Do not wash your hair 1-2 days prior to your colour job 
Natural oils from your scalp not only protect the hair shafts, they also smoothen the colour application process as the hair absorbs the dye much more easily.

2) Always invest in colour safe shampoos and conditioners 
After spending a bomb on your beautiful tresses, you wouldn’t want to wash your money down the drain by using hair products that strip your hair colour at home. The key is to find products that are suitable for your hair and scalp. 
Expensive products don’t always work (e.g. Kerastase causes my scalp to itch). On the contrary, I find drugstore brands just as effective, if not better.
I started on Marc Anthony’s Colour Shampoo and Conditioner (S$16.90 each from Watsons) a couple of weeks ago, and I’m happy to report that it makes my hair soft, shiny and manageable. More importantly, my hair colour remains vibrant and I don’t see any signs of discolouration at all. Although these are colour enhancing products, their hair volumizing properties are especially apparent, an additional perk that left me pleasantly surprised! I have very fine and limp hair, so any volume is greatly appreciated. 

 The entire range of Marc Anthony products was developed by World Champion Hair Stylist and Celebrity Hairstylist Marc Anthony. The shampoos and conditioners also come with broad spectrum UV protection and Vitamin C, important ingredients that prevent discolouration and promote healthy hair growth. With hair products that are choke full of goodies, everyday can be a good hair day!
 3) Use a colour save leave-in conditioner with UV protection
We all know how important UV protection is for our skin, but did you also know that exposure to sunlight will dry out your hair, leaving them lifeless and dull?  To complement my shampoo and conditioner which already come with UV protection, I also use a colour save leave-in conditioner with UV protection. I skipped this step previously as I was lazy, but I’ve turned over a new leaf and am a lot more hardworking these days.

Why? Because this step probably makes the biggest difference to retaining hair colour vibrancy, especially since sun exposure is practically inevitable thanks to our tropical climate.

I discovered Schwarzkopf Professional BC Bonacure Color Save Spray Conditioner (S$21 from a neighborhood shop at Bukit Timah Plaza) recently and I have never looked back.This is a salon exclusive product but I’m sure it retails online too.
The BC Bonacure range promises to renew the strength and elasticity of your hair with its signature Amino Cell Rebuild technology. I have tried several leave-in conditioners prior to this, and besides being fragrant, none of them really did anything to my hair except weigh them down. 
I particularly like the lightweight formula of this leave-in conditioner as it gives me tangle-free and silky smooth hair without weighing down my hair at all. I have a lot of baby hair, and this is the only product that could tame those flyaways, making my hair look shiny and well-conditioned all day. The best part is, I have been using this for a couple of weeks now and my coloured hair still looks fresh out of the salon!
4) Do not over shampoo. I actually find it difficult to follow this rule because I prefer to shampoo everyday. Unfortunately, the lather in shampoos washes away both your hair’s natural oils and your artificial colour as well. Now, I try to shampoo only on alternate days to extend the life of my hair colour.
 
5) Be cautious about the water temperature when rinsing your hair. Hot water is damaging not only to your hair shaft, but to your hair colour too as it causes the colour to fade much faster. It’s best to use lukewarm water to rinse off the shampoo, followed by cold water to close the cuticles on your hair shafts.   

Are there any other tips that worked for you too? Do share them here! πŸ™‚

Share:
Uncategorized

Fabulous Hair with Invogue Singapore

November 1, 2012 by Regina Chow 2 Comments

I was invited to try out the hair services at Invogue Singapore a while back.  Nestled in the Tampines heartlands away from the hustle and bustle of the city, Invogue Singapore is a gem waiting to be unraveled by hair fashionistas out there!
Invogue Singapore prides itself for its quality rebonding and hair dye services. My hair is naturally very limp and straight, so rebonding was out of the question for me despite all the rave reviews the salon received. However, I was very excited try out their hair dye service because I wanted to dye my hair ombre.
I fell in love with the salon’s decor the minute I stepped in. It was recently renovated in a dreamy Mediterranean style, complete with a fresh coat of blue paint accented by white picture frames and shelves. It felt just like a holiday resort, and I was more than ready to indulge in an afternoon of blissful pampering!

I made a new blogger friend at the salon too! Miyo was there to get her hair checked before she proceeded with her rebonding treatment the following week. 
Honestly, how many hair salons these days would bother to do a thorough check to ensure that their client’s hair is suitable for certain chemical treatments? We were both very impressed by Invogue Singapore’s utmost dedication and professionalism!

Here’s my stylist, Kalvin! Don’t be fooled by his youthful looks. Kalvin has 7-8 years of experience as a stylist, so you can rest assured that your hair is in good hands.
I wish I was adventurous enough to try out bright colours, just like that bold streak of blue that he had, but alas, I decided to go with Kalvin’s recommendation to dye it brown and ash ombre.

Unlike most hair salons where the hair stylist leaves the dye application work to his assistant, Kalvin painstakingly mixed the hair dye before he deftly applied the colours on to my hair with skilled precision. His dexterity and attention to details are highly commendable as he could instantly deliver the exact colours that I wanted. 
I’m sure many of you have had frustrating experiences with hair salons that couldn’t achieve the colour that you chose at the onset. With Kalvin around, you can cast your worries away and relax, knowing that your precious tresses are in the hands of an expert.

Did you know that there is a mini TV screen beside every seat at the salon? I thought that was very considerate, especially since chemical treatments usually take hours and customers like me would either browse magazines, fiddle with smartphones or doze off. Now, we can watch television programmes to occupy our time!
Time flies whenever I watch TV, so I was done with the colouring process in the blink of an eye!

Hair treatment is essential after colouring as it locks in your hair colour, making it last much longer. Of course, it also ensures that your hair is well-conditioned and silky smooth!

Check out my lustrous locks after Kalvin worked his magic with a flat iron! The ombre effect is even more obvious when my hair is beautifully curled.

Here’s the front view of my freshly dyed and curled locks. I love how the finished look complements my personality and style. Thanks to the hair treatment, my hair texture has also improved tremendously. 

Parting shot with Kalvin.
I usually patronize salons in town (and whenever I’m in Tokyo!) and the hairstylist I used to frequent in Singapore is a Korean, but in all honesty, I feel that Kalvin is just as
good, if not better than all the hairstylists that I’ve gone
to. I’ve always believed that the hallmark of a talented hairstylist
lies in his/her ability to recommend hairstyles and colours that
complement your overall personality and dress sense. Kalvin is amazing
at that, and thanks to him, I am now the proud owner of beautiful, luscious, shiny locks!
Close-up of my hair after a long day of bridesmaid duties. The temporary curls are looser and more tousled, but the colour still shines through. In fact, even after several washes, my hair colour still looked as fresh as when it was first dyed! Thank you Invogue Singapore for a job well done!
Invogue Singapore
Address: Blk 139, Tampines Street 11, #01-18, S(521139)
Contact No.: +65 9229 3989
Facebook: https://www.facebook.com/InvogueSingapore
Do you like my hair makeover? 
Invogue Salon is now having a promotion, so do give them a call to book an appointment! 
  
Hair Dye (includes haircut and treatment): $59 (Short), $79 (Medium) and $99 (Long) 
Rebonding: Prices start from S$170 
 
Invogue Singapore: http://www.streetdirectory.com/invoguesingapore/
Share:
Page 3 of 4«1234»

About Me

Hi! My name is Regina and I am a style, beauty and travel enthusiast who enjoys writing, photography and letting my creative juices flow.

My blogging journey has been nothing short of exciting. I was recently named the winner of Her World Magazine’s Estee Lauder Style Superstar Awards 2016. My blog was also awarded Best Fashion Blog (Grand Winner) at the Singapore Blog Awards 2014. The year before that, it won Best Online Shopping Blog at the Singapore Blog Awards 2013.

Additionally, it is listed as one of the 10 interesting blogs on Singapore by AsiaWeb Direct (http://www-singapore.com/blogs.htm). I was also featured on both local and international mainstream media for my views on style, fashion and online shopping:

The Straits Times (14 Oct 2014)

The Business Times (14 Oct 2014)

My Paper (13 Oct 2014)

CNBC ("Pricey Singapore: Savvy shoppers go online" - 28 Dec 2014)

For advertorials/partnerships, feel free to contact me at regina.chow@gmail.com.

Thank you!

Follow on Instagram

Searching for a post?

Recent Posts

  • Cute Press Intensive Renewal Skincare: Restore Your Youth in 14 Days
  • Review: Pico Laser for Pigmentation at Clifford Clinic
  • Review: Profhilo at Clifford Clinic
  • Tokyo Bust Express Review – Improving Your Bust Line Naturally
  • BottomSlim Review – Firmer Thighs after 1 Session!

Recent Comments

  • Regina Chow on My Fat Reduction Journey with CoolSculpting at Halley Medical Aesthetics
  • Fiona Ng on My Fat Reduction Journey with CoolSculpting at Halley Medical Aesthetics
  • Regina Chow on Travel: Why Tibet Is Worth Visiting
  • Regina Chow on Blackmores Natural Vitamin E Cream Review
  • Herbert on Why I Would Seek A Divorce

Archives

  • May 2023
  • October 2022
  • July 2021
  • September 2020
  • June 2020
  • May 2020
  • February 2020
  • January 2020
  • December 2019
  • November 2019
  • October 2019
  • August 2019
  • June 2019
  • May 2019
  • April 2019
  • December 2018
  • October 2018
  • September 2018
  • August 2018
  • July 2018
  • June 2018
  • April 2018
  • March 2018
  • February 2018
  • January 2018
  • November 2017
  • September 2017
  • June 2017
  • April 2017
  • March 2017
  • February 2017
  • January 2017
  • December 2016
  • November 2016
  • October 2016
  • September 2016
  • August 2016
  • July 2016
  • June 2016
  • May 2016
  • April 2016
  • March 2016
  • February 2016
  • January 2016
  • December 2015
  • November 2015
  • October 2015
  • September 2015
  • August 2015
  • July 2015
  • June 2015
  • May 2015
  • April 2015
  • March 2015
  • February 2015
  • January 2015
  • December 2014
  • November 2014
  • October 2014
  • September 2014
  • August 2014
  • July 2014
  • June 2014
  • May 2014
  • April 2014
  • March 2014
  • February 2014
  • January 2014
  • December 2013
  • November 2013
  • October 2013
  • September 2013
  • August 2013
  • July 2013
  • June 2013
  • May 2013
  • April 2013
  • March 2013
  • February 2013
  • January 2013
  • December 2012
  • November 2012
  • October 2012
  • September 2012
  • August 2012
  • July 2012
  • June 2012
  • May 2012
  • April 2012
  • March 2012
  • February 2012
  • January 2012
  • December 2011
  • November 2011
  • October 2011
  • September 2011
  • August 2011
  • July 2011
  • June 2011
  • May 2011
  • April 2011
  • March 2011
  • February 2011
  • January 2011
  • December 2010
  • November 2010
  • October 2010
  • September 2010
  • August 2010
  • July 2010
  • June 2010
  • May 2010
  • April 2010
  • March 2010
  • February 2010
  • January 2010
  • December 2009
  • November 2009
  • October 2009
  • September 2009
  • August 2009
  • July 2009
  • June 2009
  • May 2009
  • April 2009
  • March 2009
  • February 2009
  • January 2009
  • December 2008
  • November 2008
  • October 2008
  • September 2008
  • August 2008
  • July 2008
  • June 2008
  • May 2008
  • April 2008
  • March 2008
  • February 2008
  • January 2008
  • December 2007
  • November 2007
  • October 2007
  • September 2007
  • February 2007

Categories

  • Advertorial
  • Beauty
  • Fashion
  • Lifestyle
  • Motherhood
  • Personal Thoughts
  • Travel
  • Uncategorized

Meta

  • Log in
  • Entries feed
  • Comments feed
  • WordPress.org