Regina Chow - Singapore Fashion, Beauty & Travel Blog
  • About Me
  • Fashion
  • Travel
  • Beauty
  • Lifestyle
  • Personal Thoughts
About Me
Fashion
Travel
Beauty
Lifestyle
Personal Thoughts
Regina Chow - Singapore Fashion, Beauty & Travel Blog
  • About Me
  • Fashion
  • Travel
  • Beauty
  • Lifestyle
  • Personal Thoughts
Uncategorized

30Minute Cookin’ by Rolleyes – Whip Up A Feast In 30 Minutes!

January 16, 2014 by Regina Chow 2 Comments
http://www.30minutecookin.com
No time to cook? Here comes Rolleyes’ 30Minute Cookin’ series to the rescue! 

Helmed by a group of six celebrity chefs, the 30Minute Cookin’ series shows viewers how to achieve a two to three-course meal within 30 minutes through online cooking videos. It is the perfect platform for inspiring home cooks, complete with recipes from celebrity chefs with distinctive cooking styles. Through the use
of popular brands like Unicurd, Oki Cooking Oil, Prima Taste and
Heavenly Rice and the help of Panasonic kitchen appliances, cooking
delicious food in the comfort of your home has never been easier.

Thanks to Alvin’s invitation, 
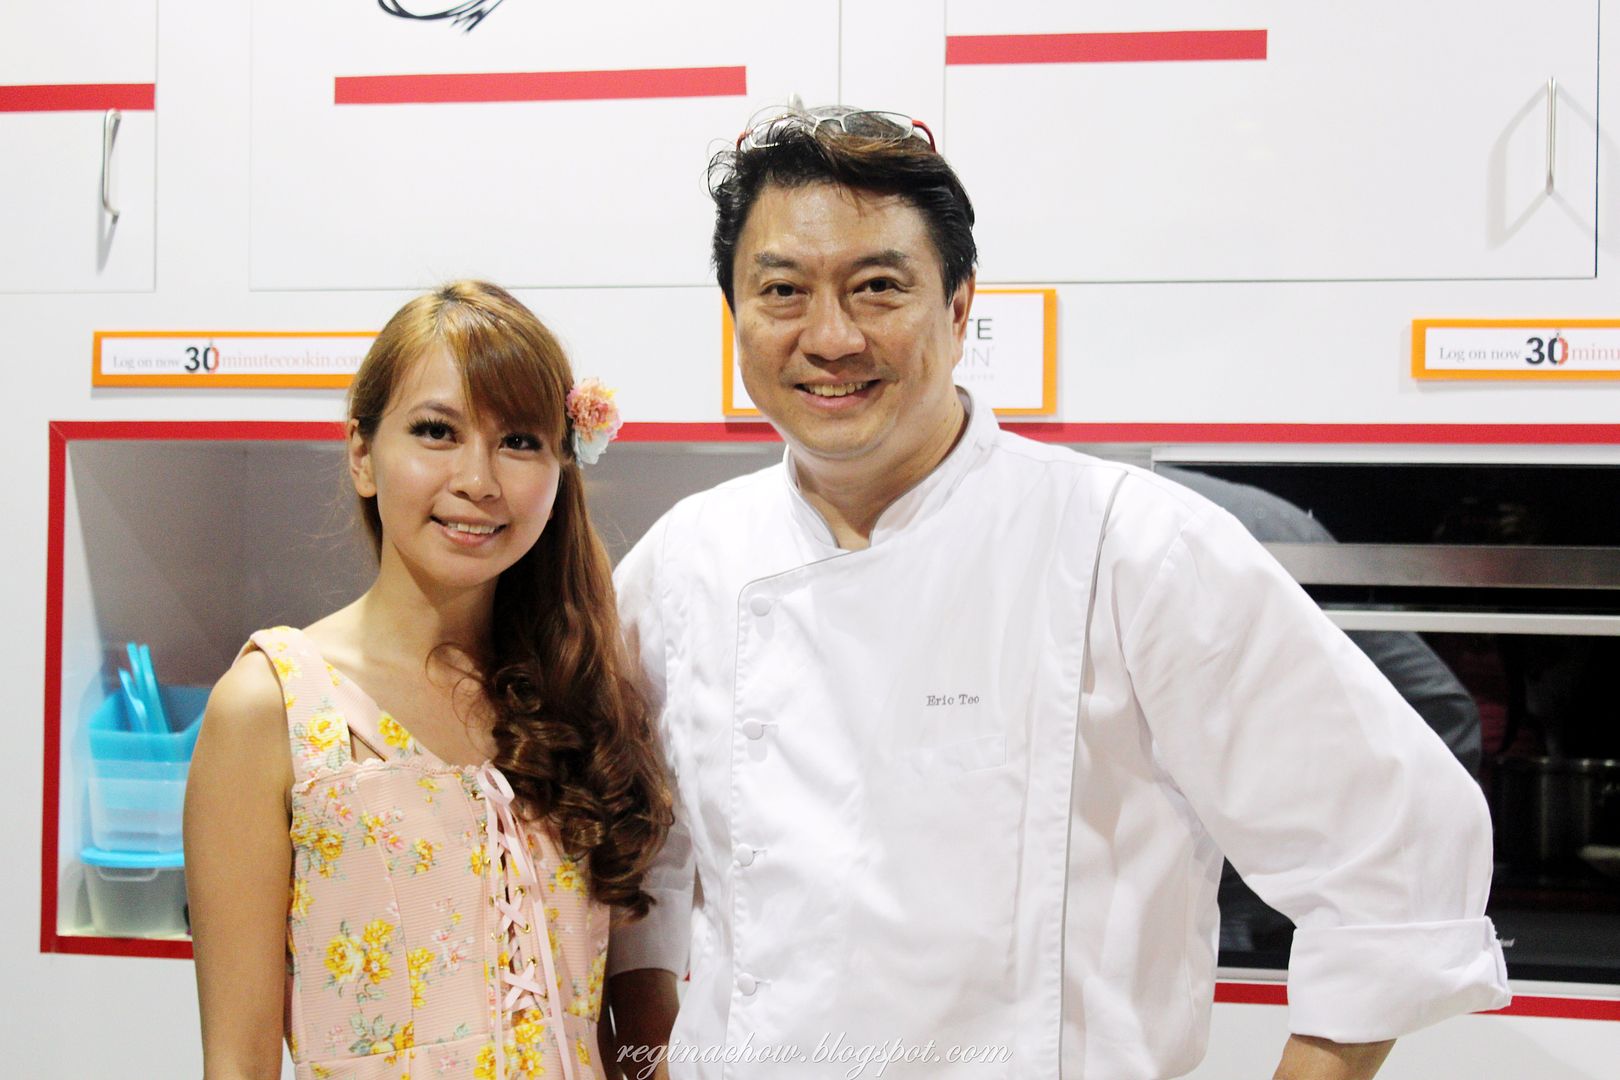
Grace and I attended the launch of 30Minute Cookin’ by Rolleyes earlier this month, where we had the privilege of picking up cooking tips from celebrity chef Eric Teo.

Held at Chef Teo’s studio, we knew that we would be in for a feast. Little did we know that it was a feast not just for our stomachs, but for our eyes as well.
An interesting mix of eclectic knick knacks, framed pictures and accolades decorated Chef Teo’s studio, providing deeper insights into his personality and tremendous achievements over the years. It was quite an eye-opener indeed.

Chef Teo is someone who pays a lot of attention to details and his penchant for the art of food plating is evident from his exquisite collection of tableware and serving bowls.

Before the actual cooking demonstration began, Alvin shared with us some personal tips on food photography. The food pictures were so enticing that I couldn’t stop thinking about the delicious meal that Chef Teo was going to prepare for all of us.
It didn’t take long for the action to begin. Here are the dishes that Chef Teo prepared for us that day:
1. WILD MUSHROOM FRITTERS

INGREDIENTS

120g Enoki mushrooms (sliced)

120g Shimeiji mushrooms (sliced)

120g Oyster mushrooms (sliced)

A pinch of salt and pepper

Batter

100g self-raising flour

200ml Taiwan Fruit Beer (the Lychee Flavoured beer was used)

1 litre OKI Corn Oil

Aioli Dip

100g Mayonnaise

1tbs lemon juice

20g garlic (chopped)

A pinch of paprika powder

A pinch of salt and pepper

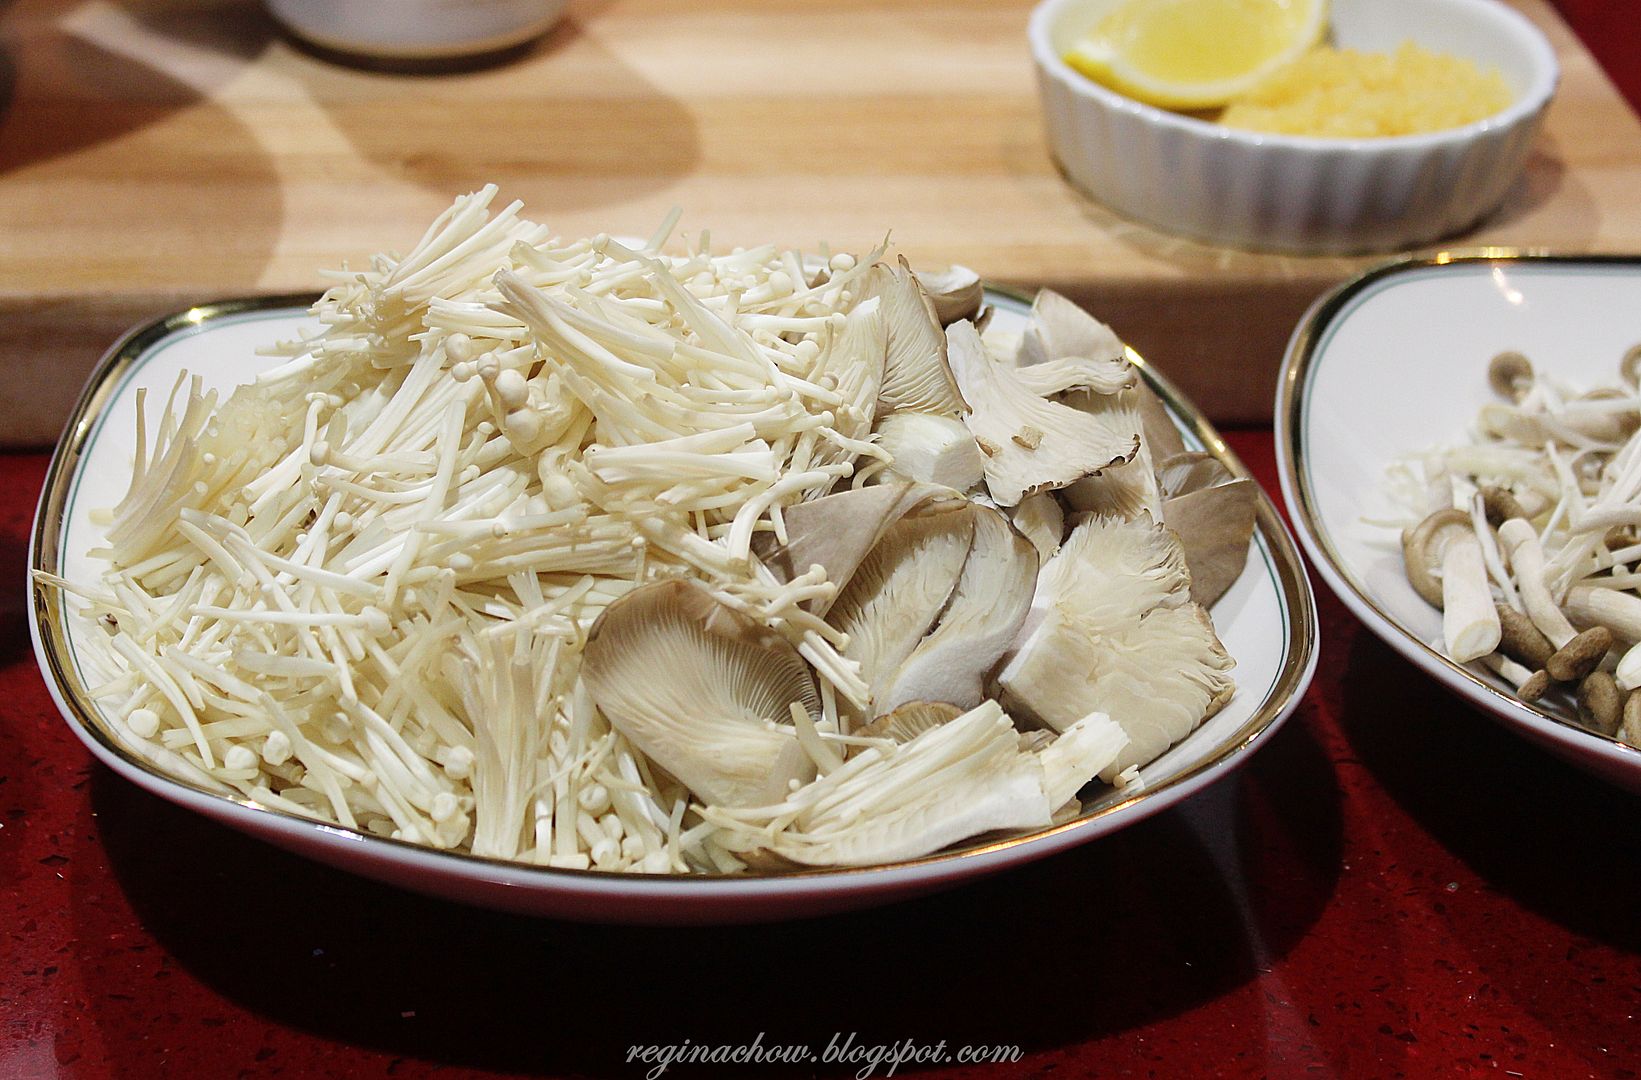
Fresh Enoki mushrooms, Shimeiji mushrooms and oyster mushrooms are the key highlights of this dish.


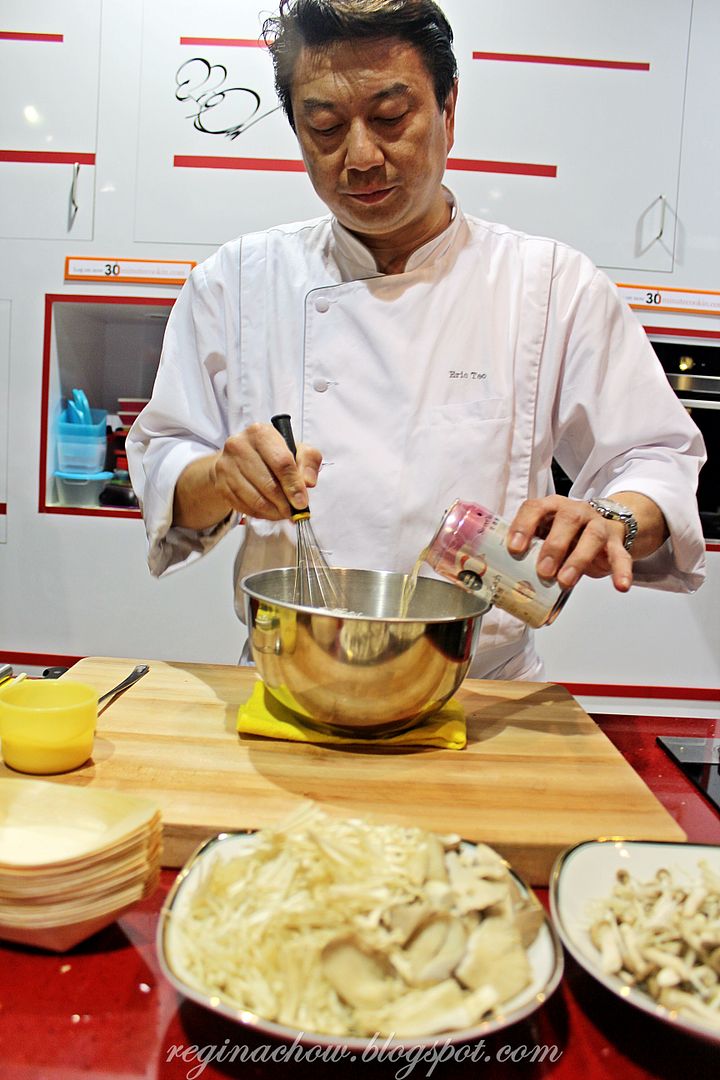
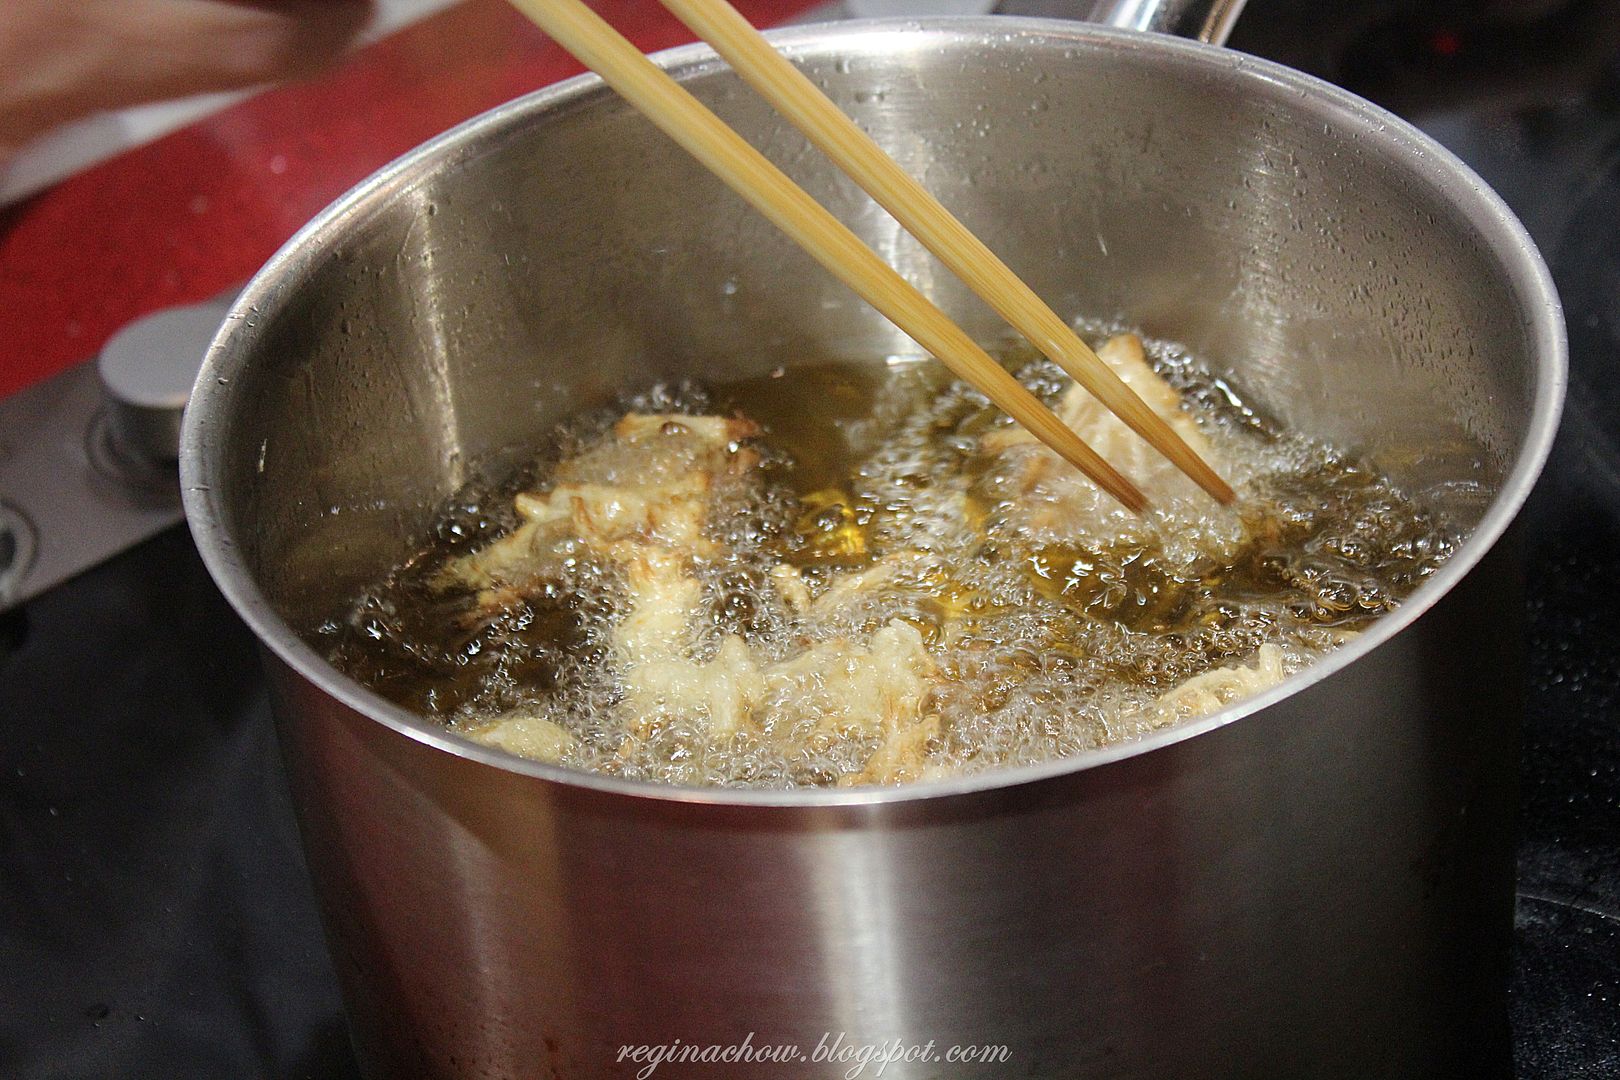
The batter for the fritters is made using a unique mix of self-raising flour and Taiwan Fruit Beer.
After the batter is prepared, mix it into the mushrooms and deep fry them in batches till they turn golden brown.

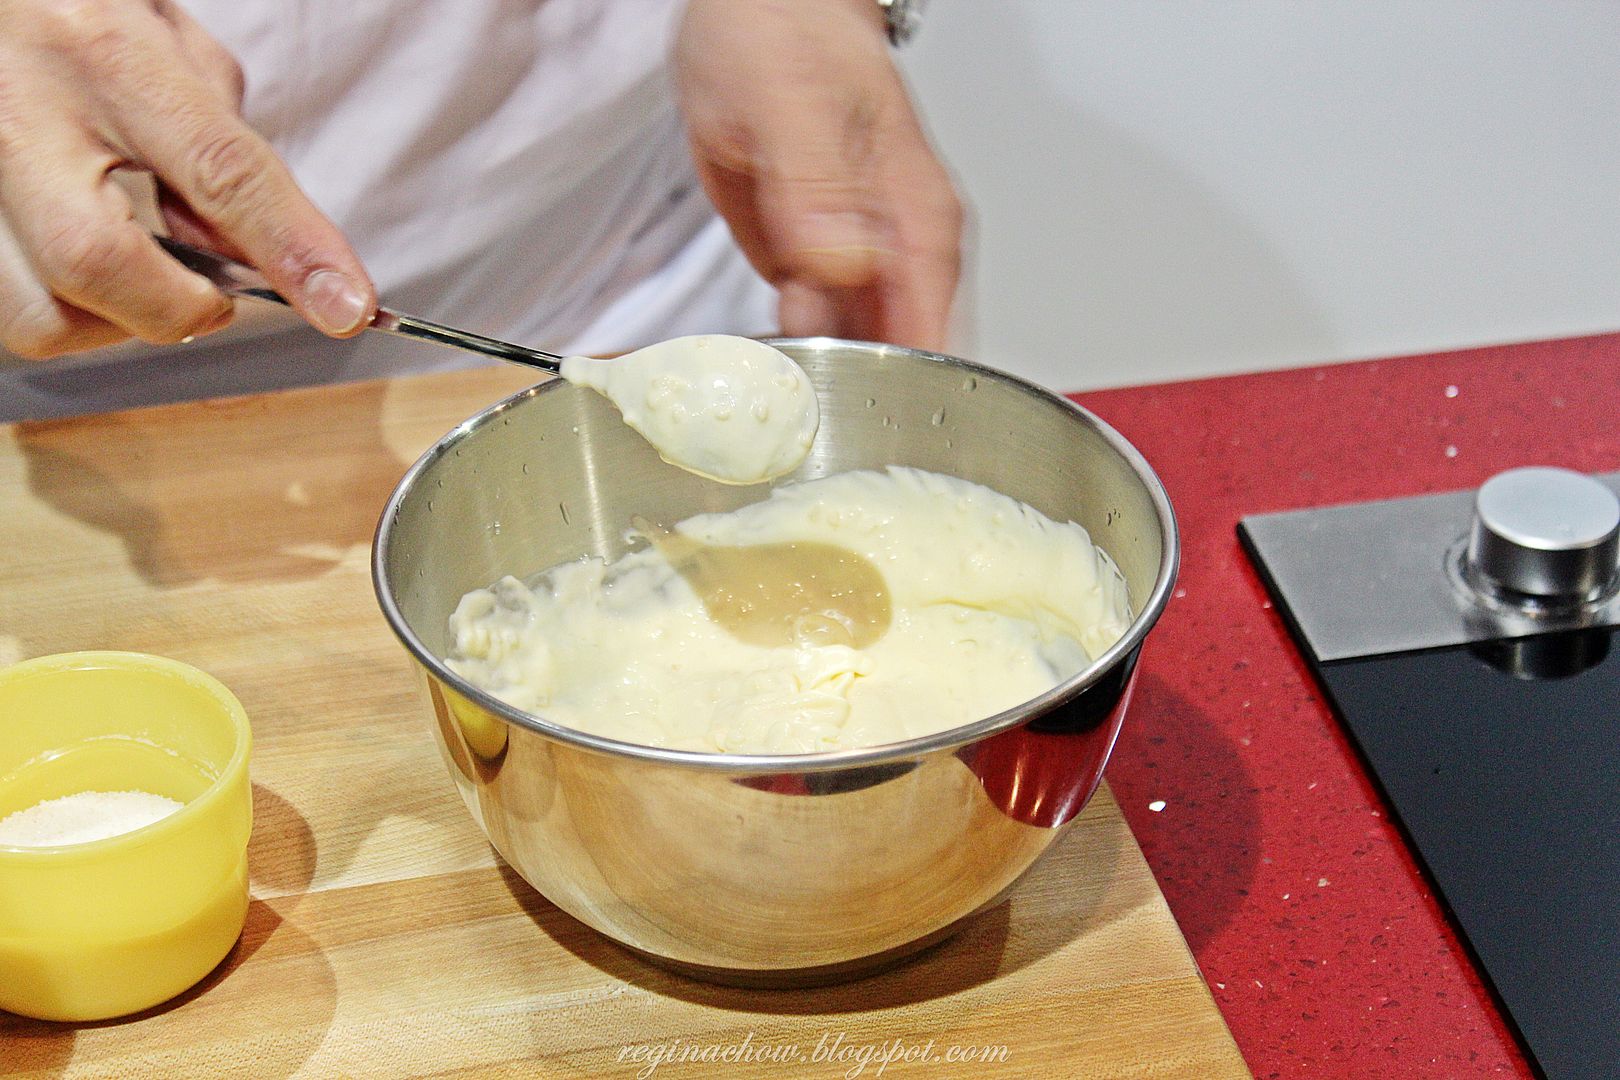
The aioli dip is prepared by mixing mayonnaise, lemon juice and chopped garlic, folding them in till you achieve a smooth consistency. Then, sprinkle a dash of paprika on top and you’re done!
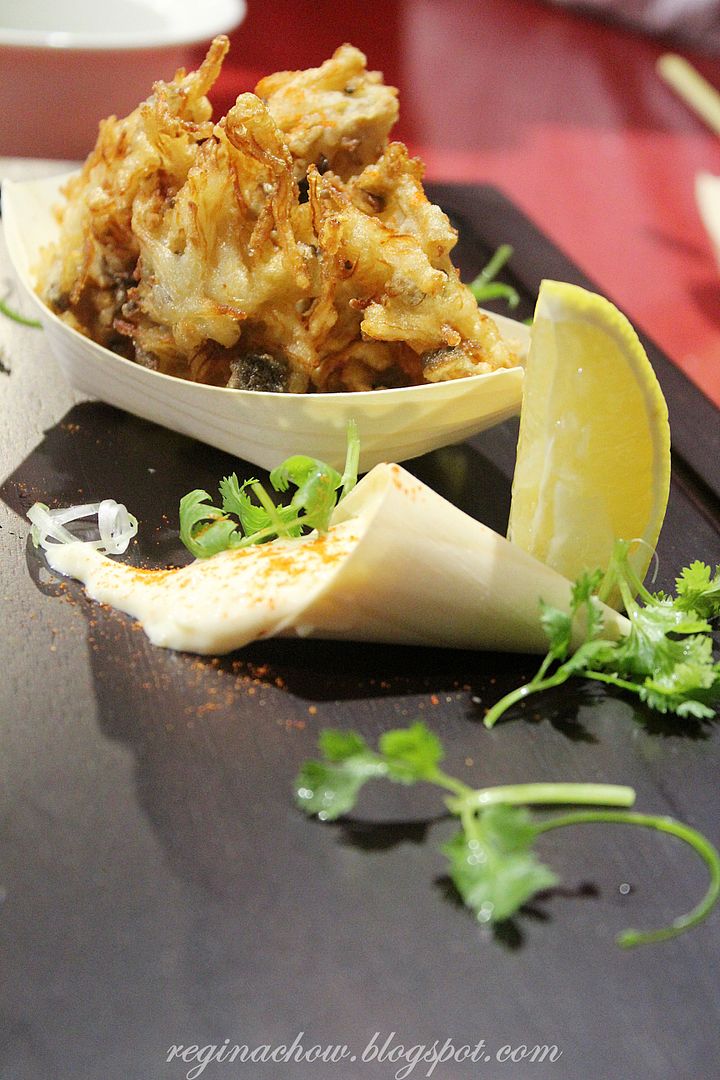
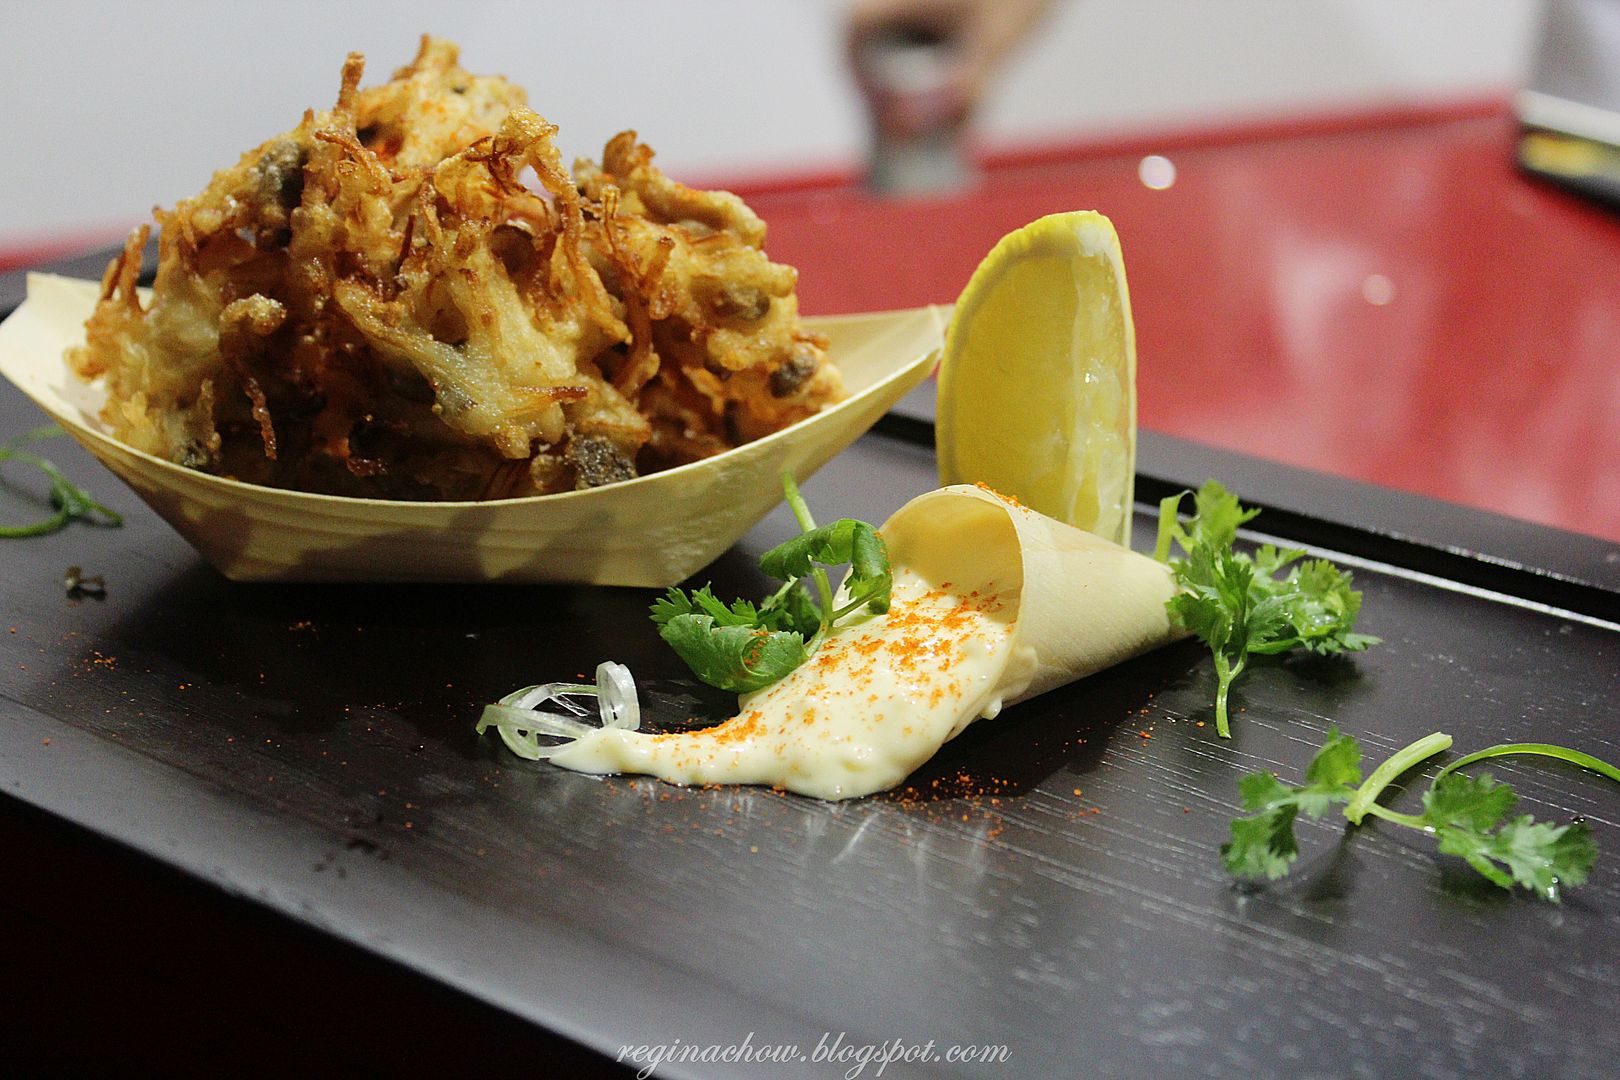
As Chef Teo was preparing this dish, he shared that the visual presentation of a dish is just as important as its flavour. Food plating is an art in itself, and with so many food pictures circulating around the internet these days, being able to stand out from the crowd is no mean feat. We are all drawn to beautiful things, and food is certainly no exception.

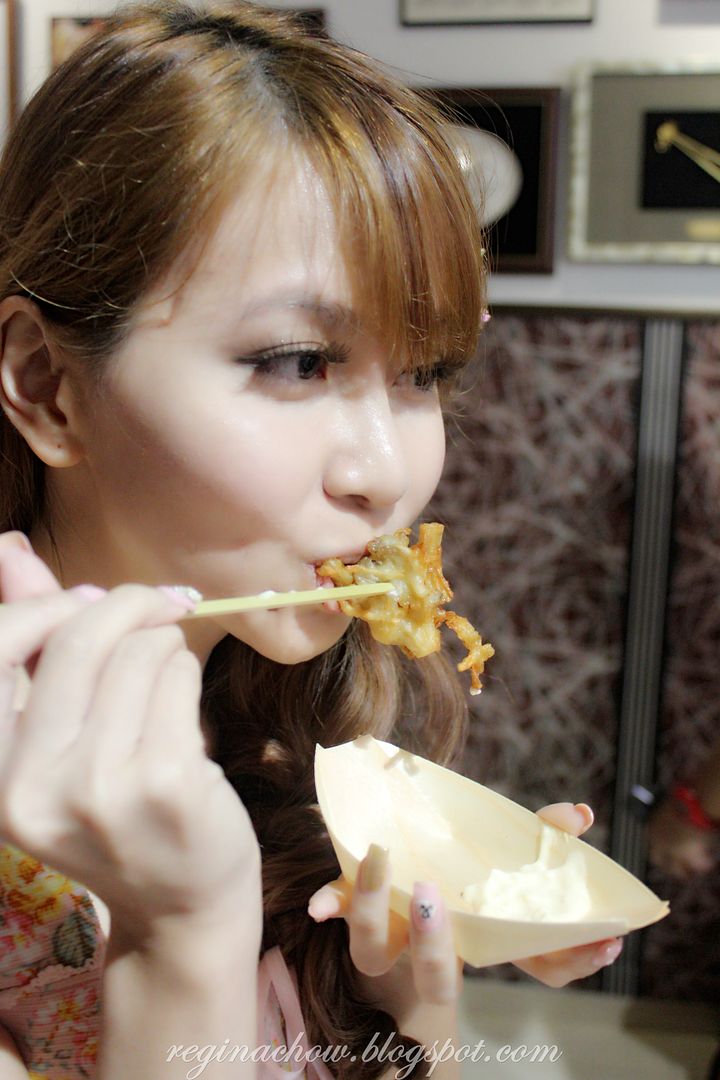
These wild mushroom fritters are my personal favourite out of the 3 dishes. The fabulous bursts of flavour and crispness with every bite left me wanting more. Most importantly, the recipe seems easy enough even for beginners like me and I think I can actually recreate this at home!


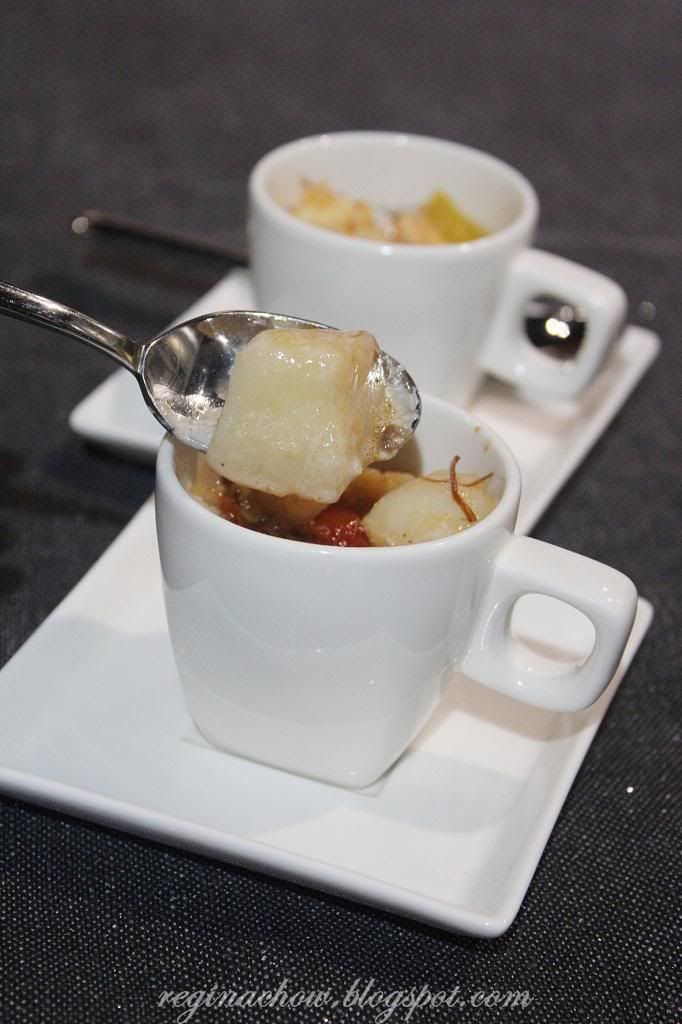
2.  STEAMED SILKEN BLACK TOFU AND SEAFOOD IN SPICY COCONUT SAUCE

INGREDIENTS

2 pcs of Unicurd Silken Black Tofu

100g prawns and scallops

100g bell peppers

2 cloves garlic (chopped)

1tbs lime juice

70ml thick coconut milk

3 pcs green chilli (seeded and chopped. If the green chilli is too spicy for you, replace with freshly ground black pepper)

1 egg

A pinch of salt

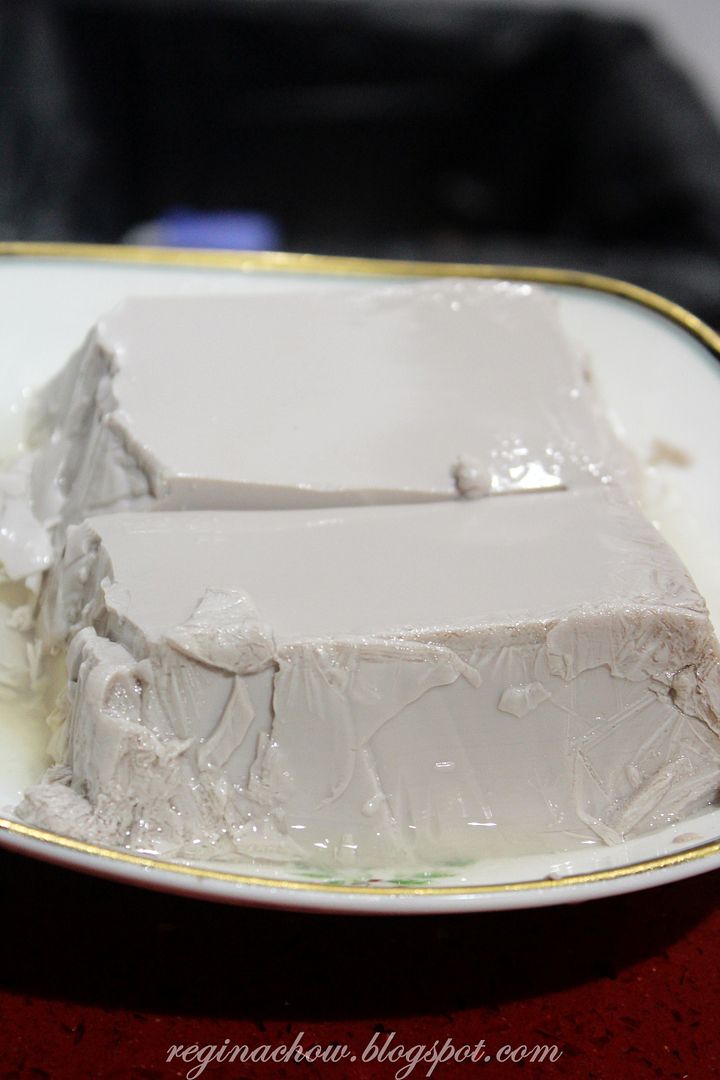
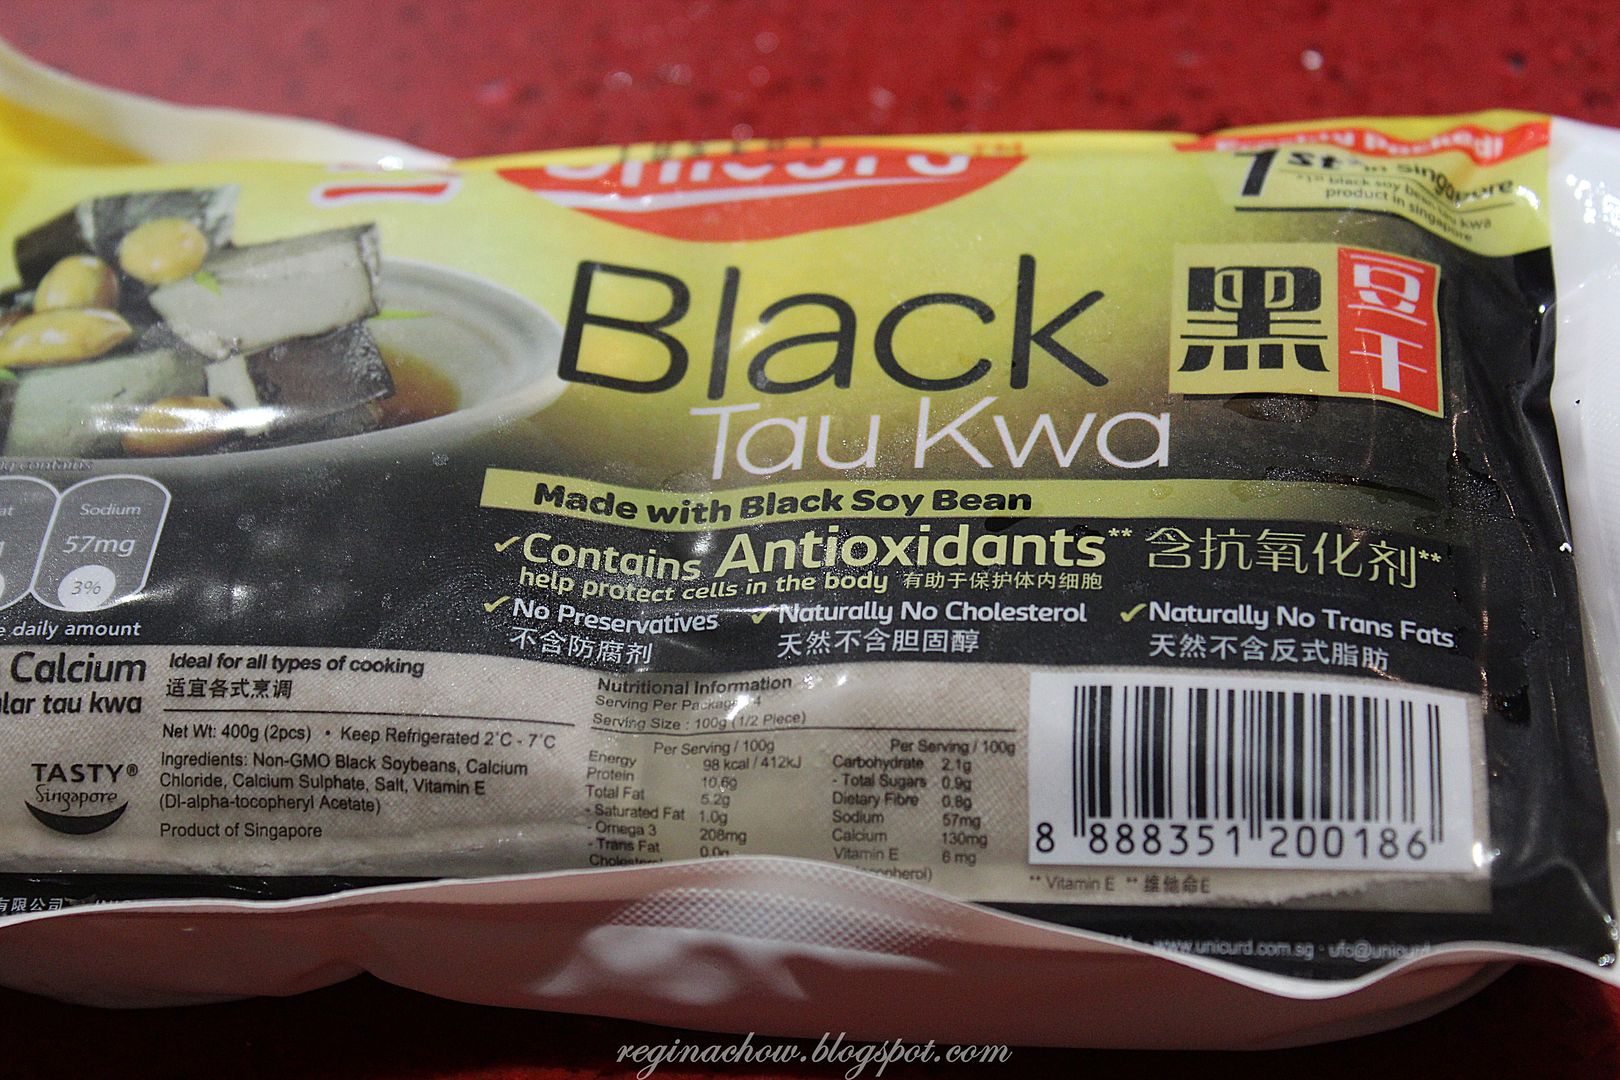
The special ingredient for this recipe has got to be the black silken tofu. I have never heard of black tofu, much less seen one for myself till that very day. Black tofu is a new product from Unicurd. It is made from black soy beans and packs a punch of antioxidants! Antioxidants fight against disease and aging, hence foods that are rich in antioxidants are definitely good for you and me.

The beancurd is first mashed in a large mixing bowl together with all the ingredients (except bell peppers, prawns and scallops) and then steamed in little serving cups. For those of you who are interested, Chef Teo used the Panasonic Steam Inverter Microwave Oven. 
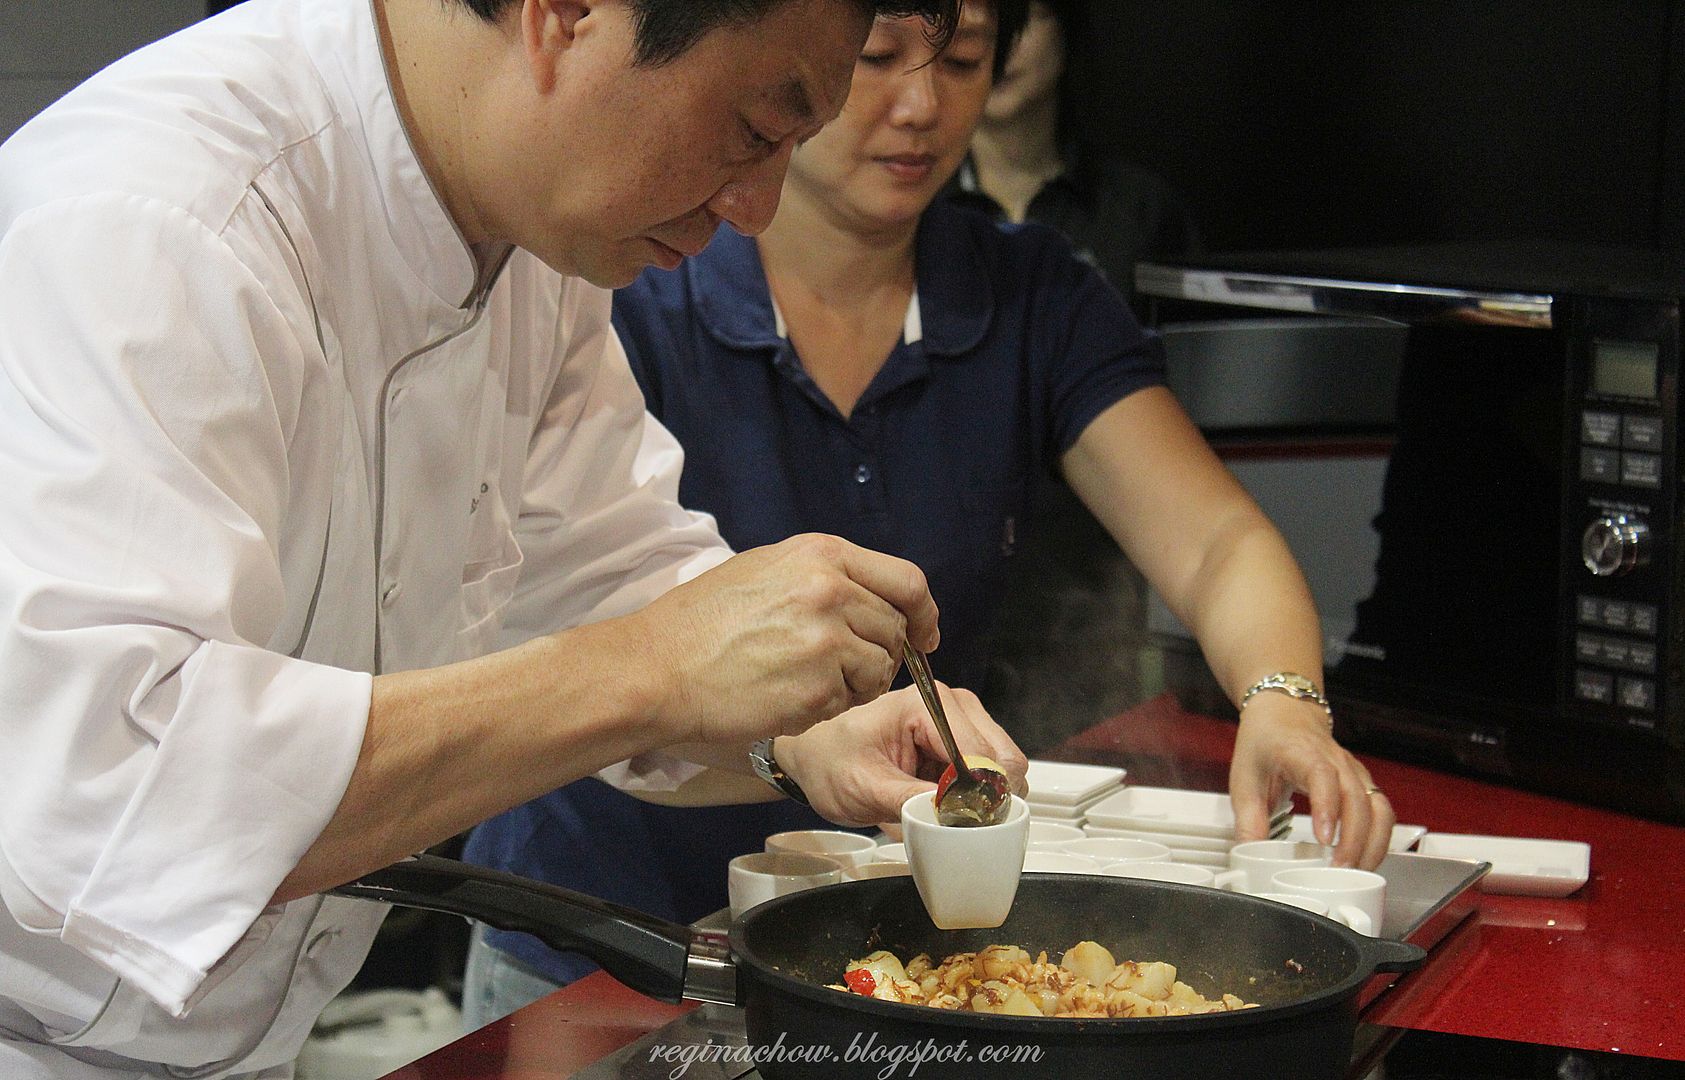
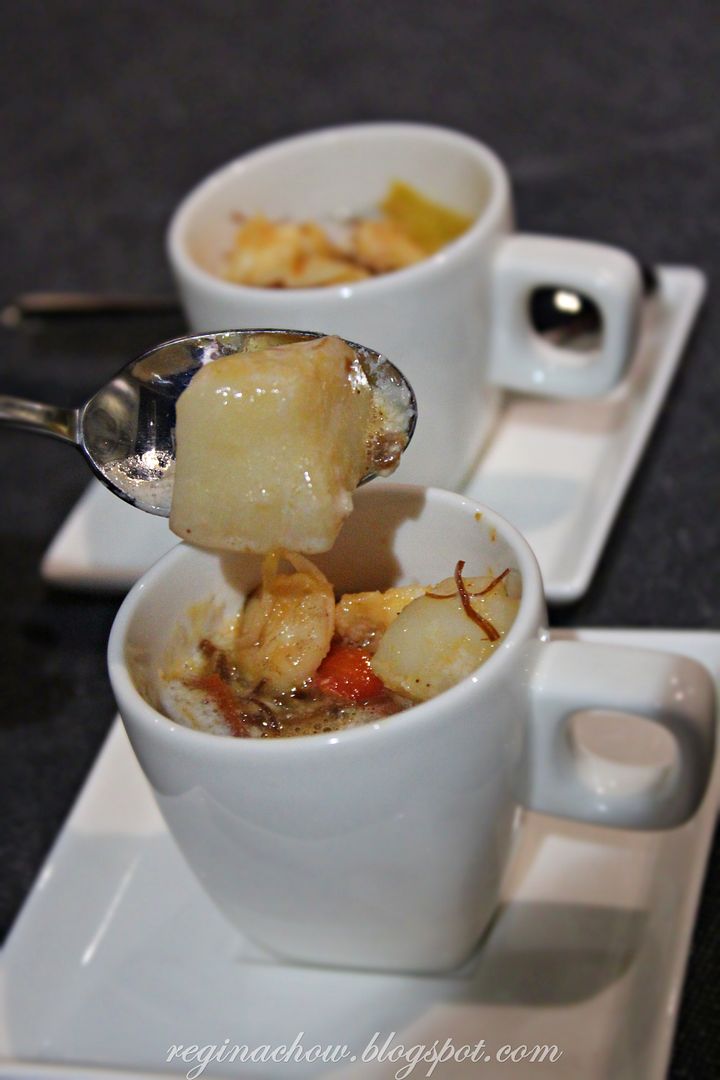
Then, cook the bell peppers, prawns and scallops separately before tossing them into the pan together to soak in the goodness of the juices. Finally, add the seafood and bell peppers to the steamed tofu mixture and the dish is ready to be served!

One useful tip for cooking scallops is to dry them on a paper towel before cooking them.
The rationale behind this step is to prevent the scallops from shrinking in size after they are cooked. I was quite amused when Chef Teo shared that some hotels actually dry the scallops using hotel towels!

Again, I was impressed by how flavourful and aesthetically pleasing the dish was, in spite of the easy peasy recipe. The scallops in particular, were extremely fresh and succulent.

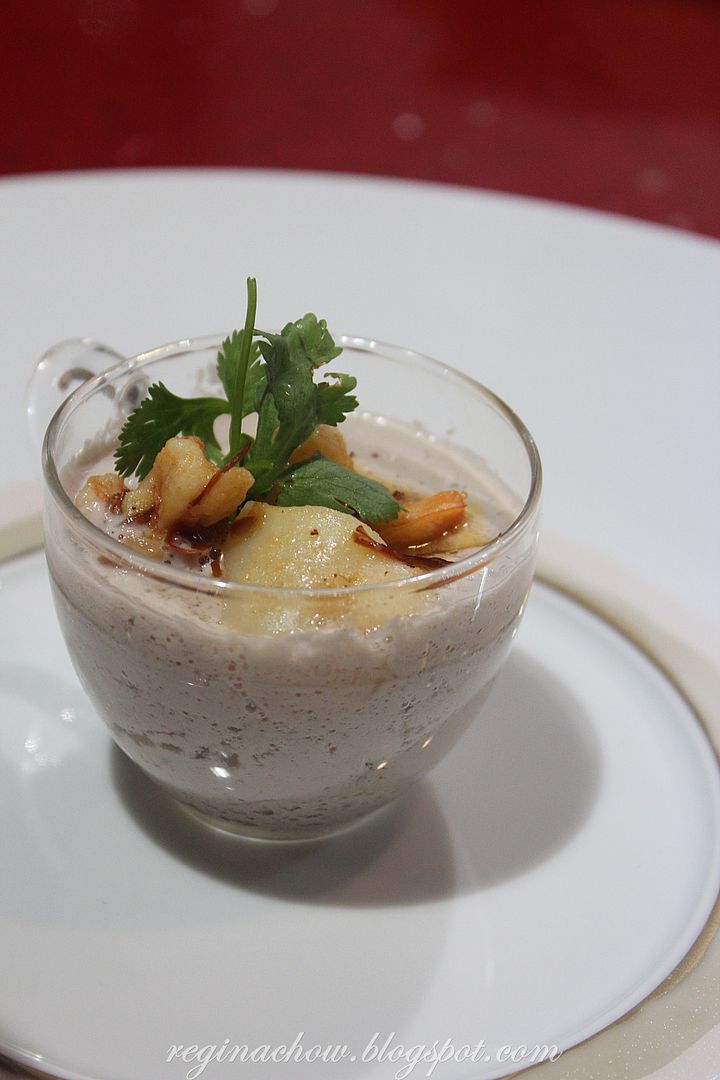
Notice how garnishing and plating have the ability to enhance a dish’s aesthetic appeal? Sometimes, plating does not necessary have to entail the use of intricate serving bowls. In this case, a transparent glass could very well do the trick too. I, for one, was immediately won over by the elegant presentation of this dish.

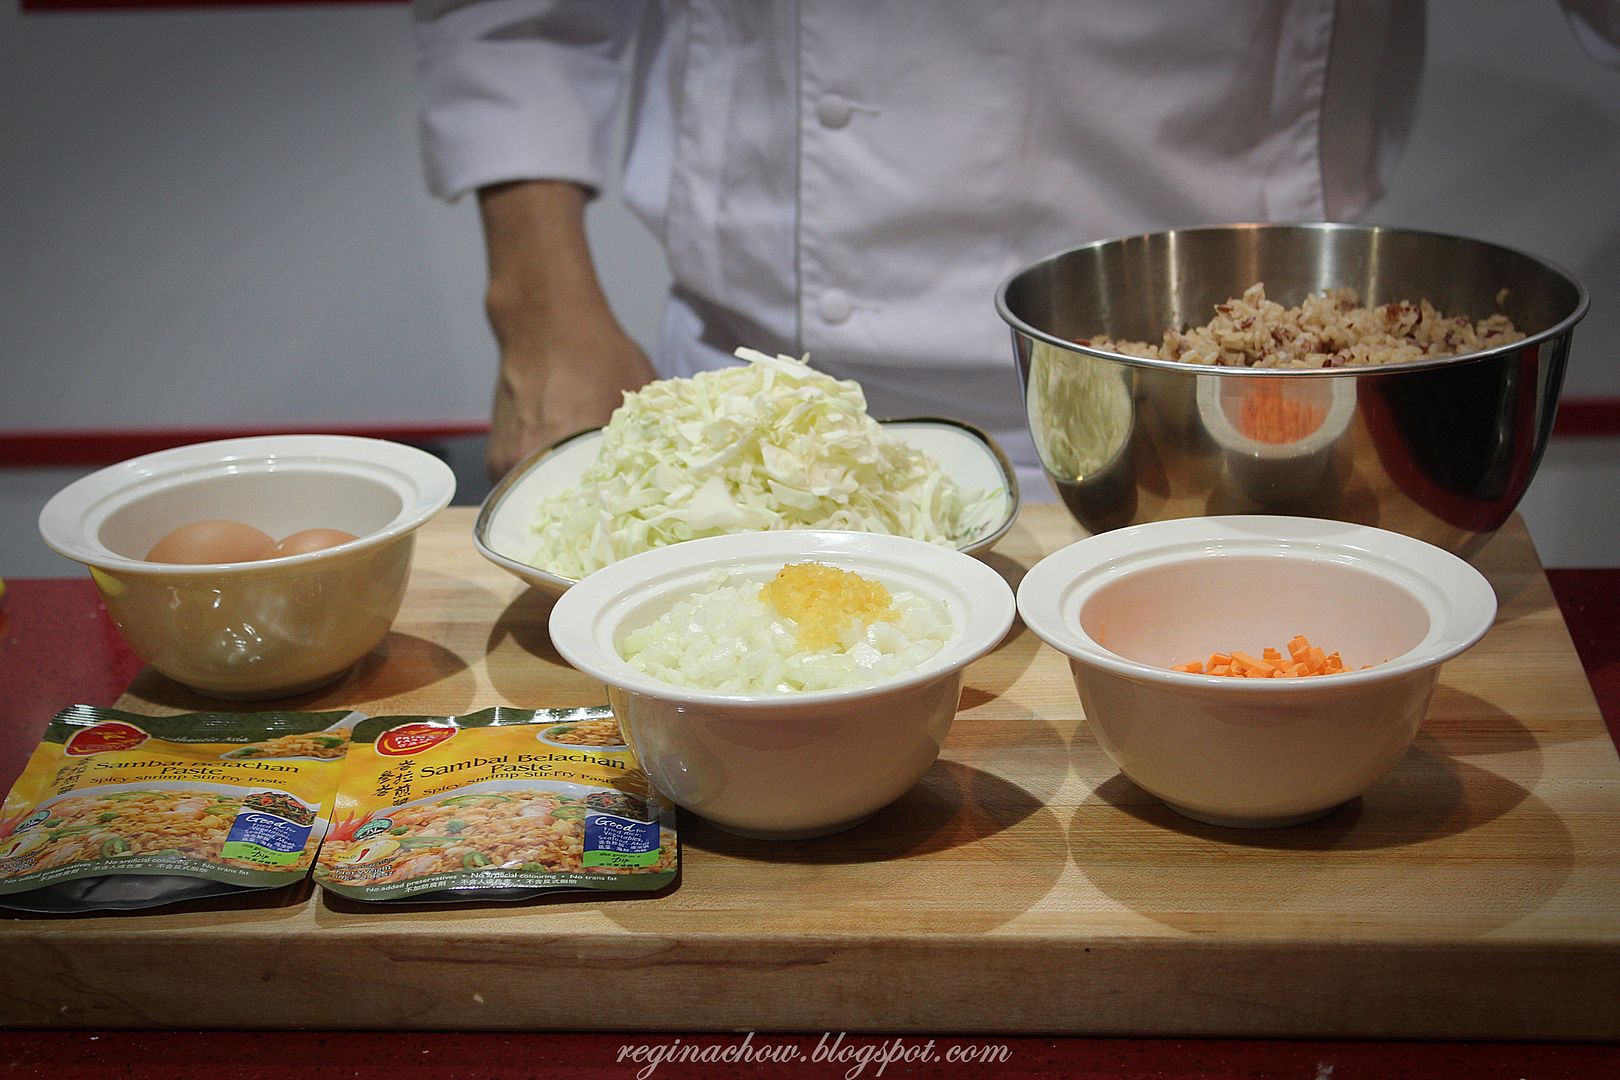
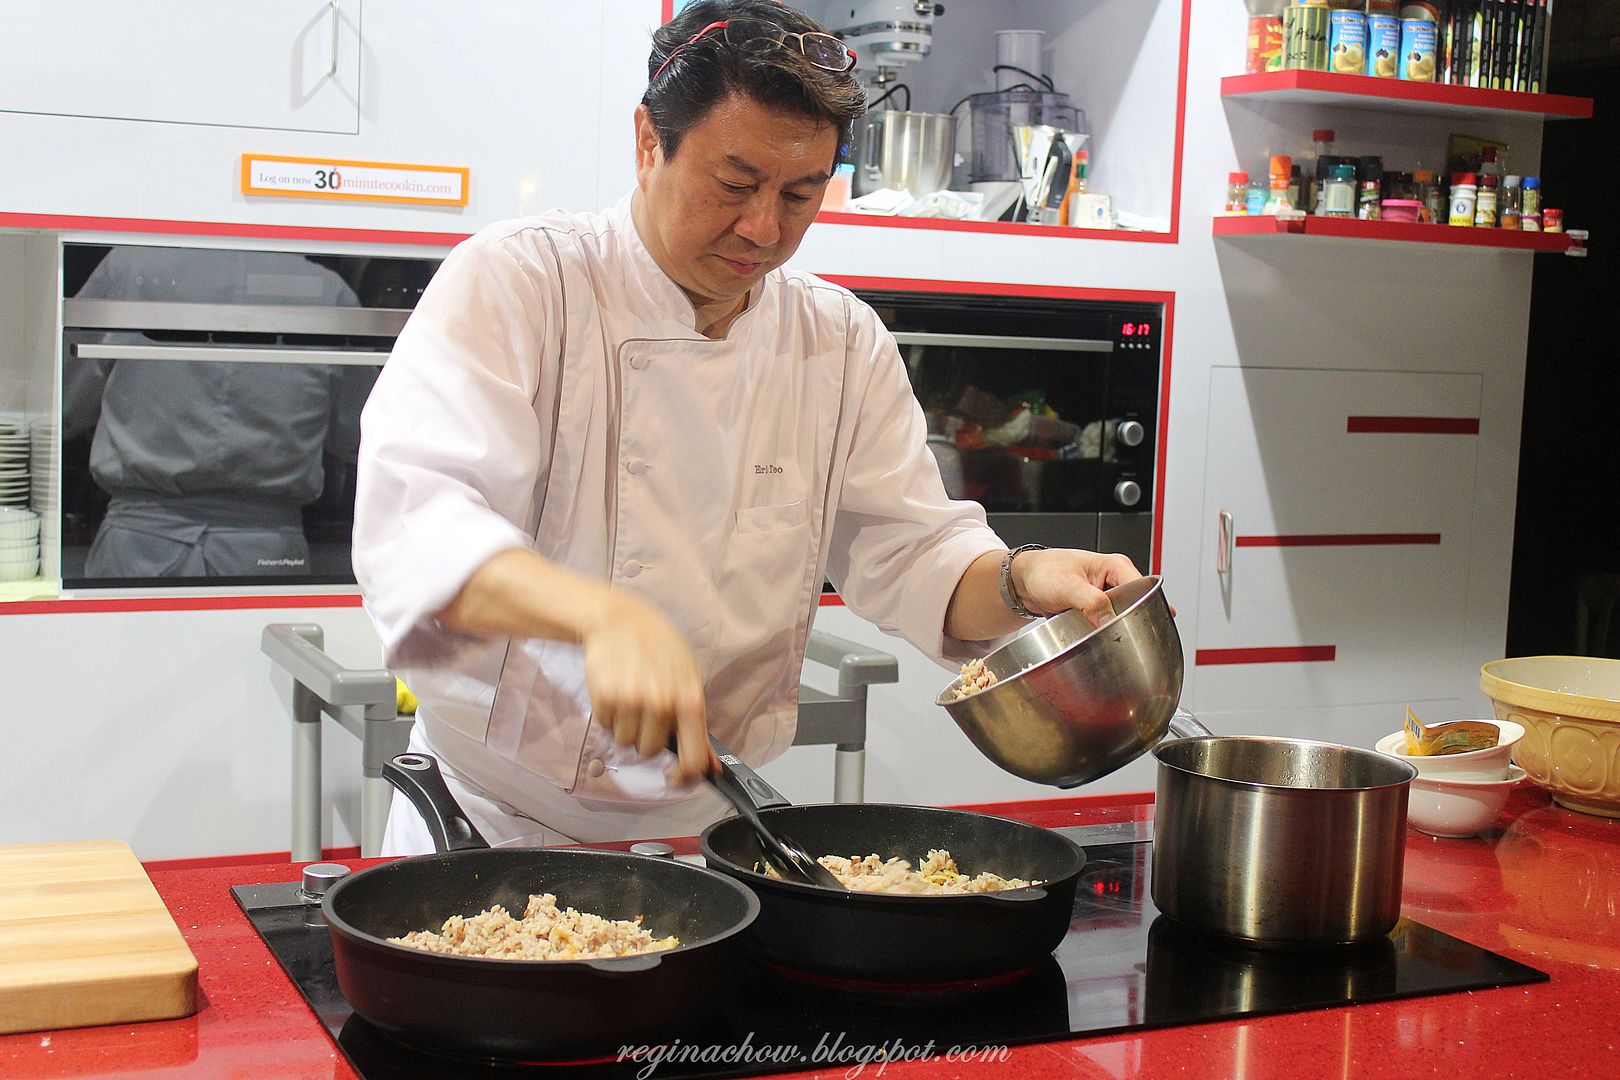
3. STIR FRIED BROWN RICE WITH SAMBAL BELACHAN 

INGREDIENTS

2 pkts Prima Taste Sambal Belachan Paste

500g Heavenly Brown Rice (cooked)

120g white onion (chopped)

3 cloves garlic (chopped)

4tbs OKI Cooking Oil

300g white round cabbage (shredded)

100g carrot (diced)

4 eggs (beaten)

80g Japanese Cucumber (diced)
The brown rice was prepared beforehand by first soaking it in water for 20 minutes, prior to cooking it in the Panasonic Micom Rice Cooker.
Heat up some oil in the pan over medium heat and stir fry the garlic and onion till fragrant, then add in the sambal sauce.

After that, add in the carrots and shredded cabbage followed by the brown rice. Continue to stir fry till everything is well mixed.

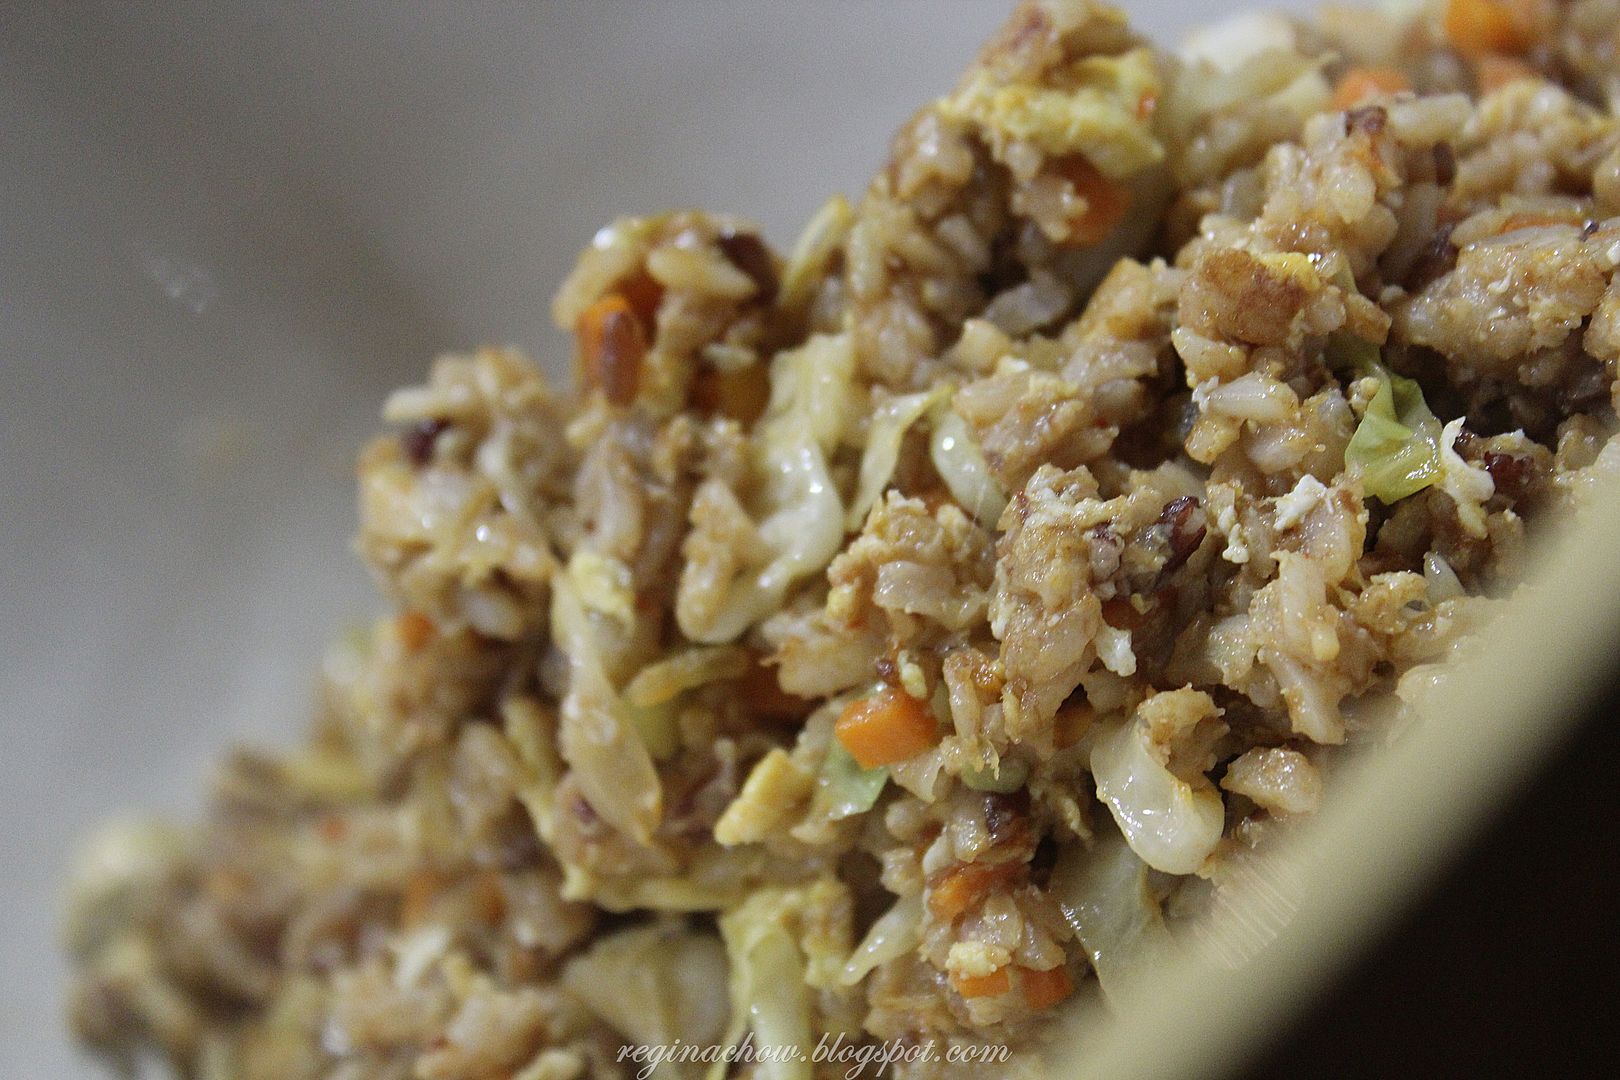
Well mixed, piping hot brown rice with sambal belachan, fresh from the pan!
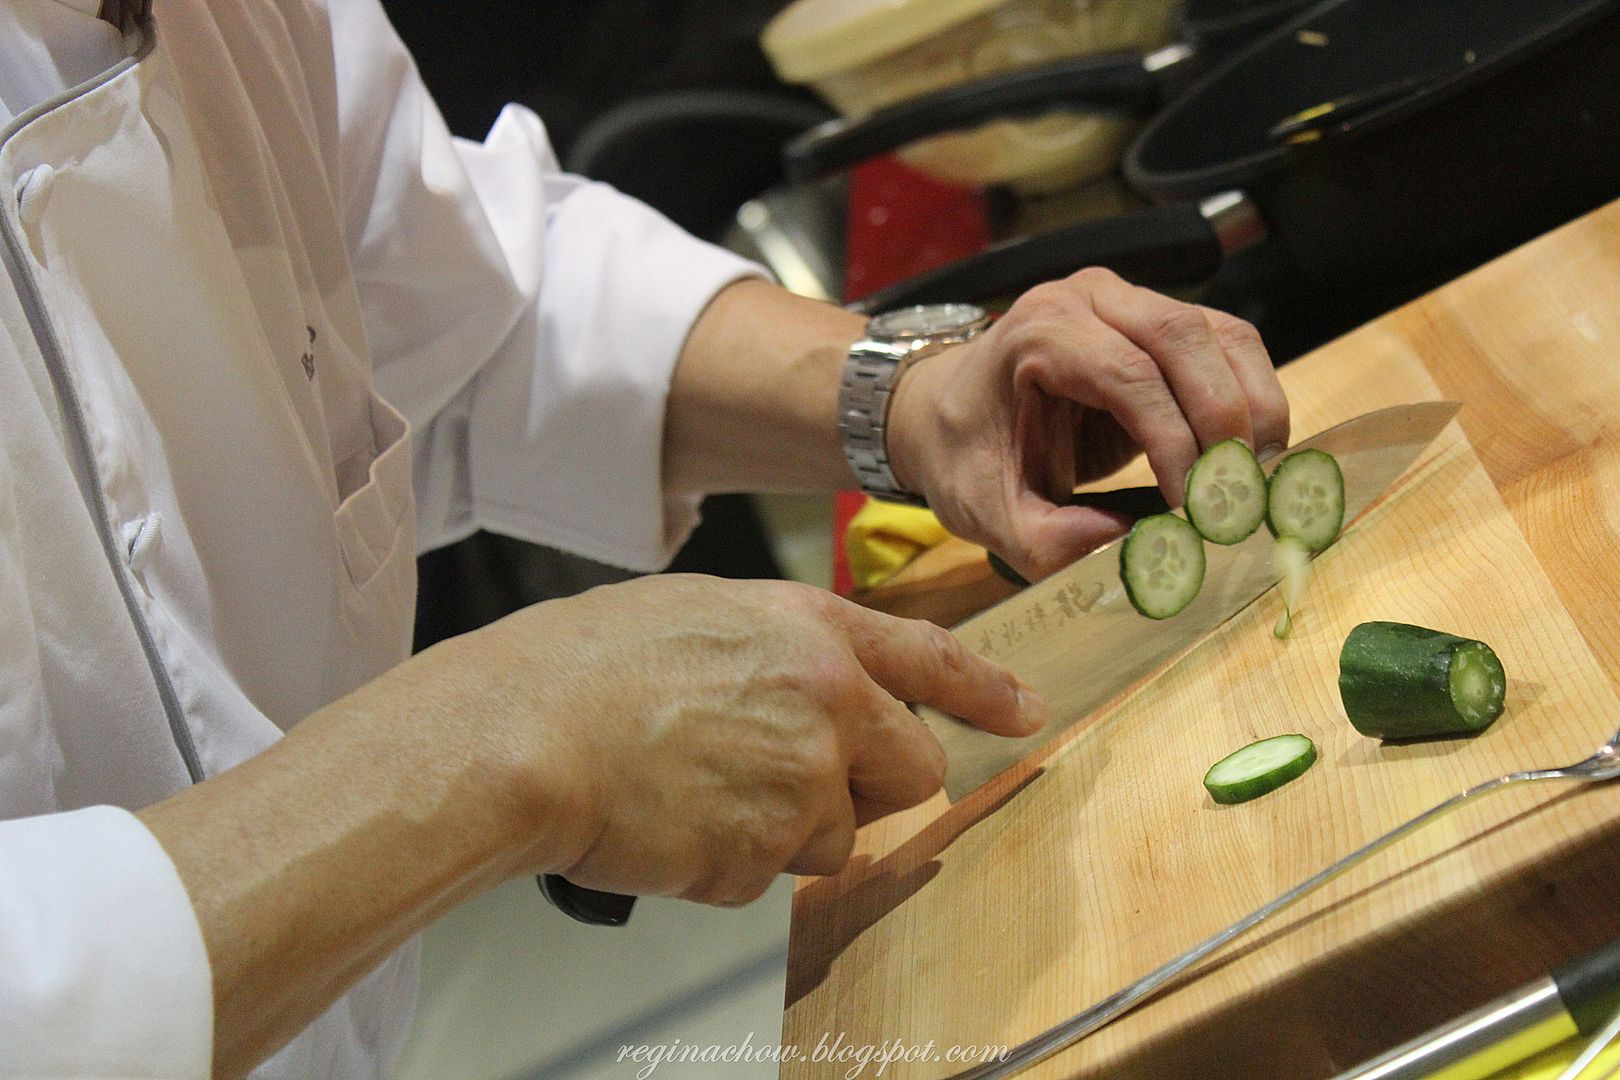
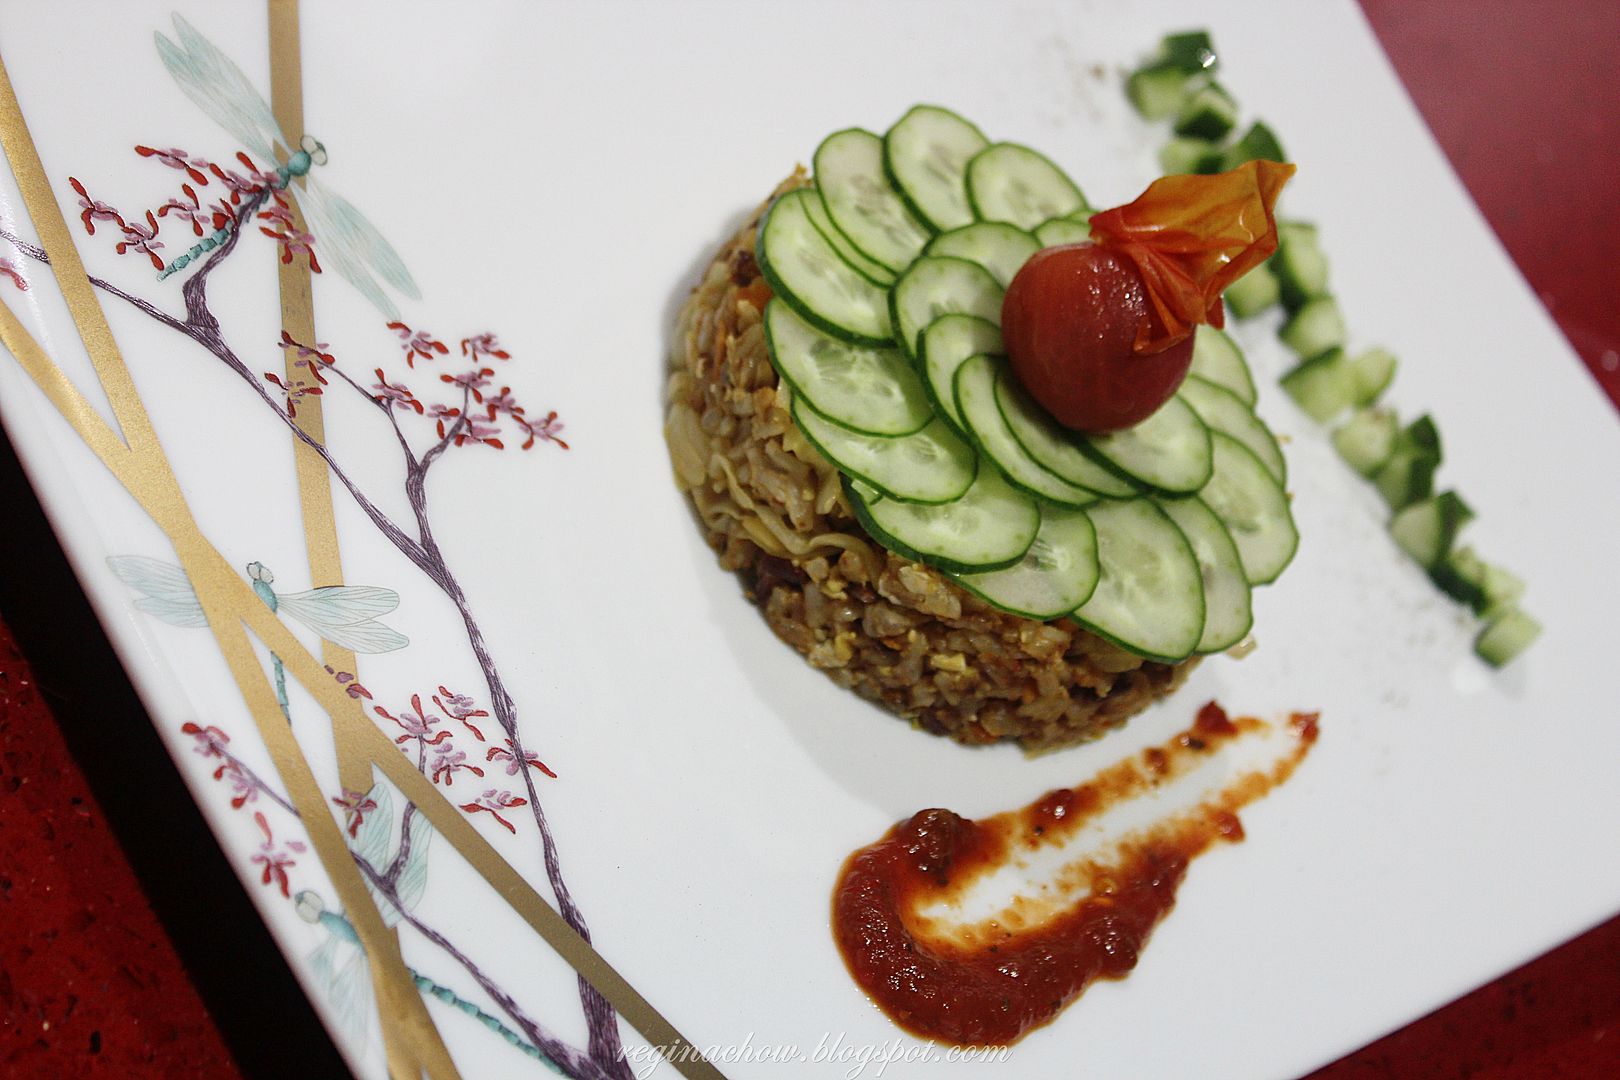
But before we dig into this fragrant dish, let’s take a look at how Chef Teo chose to garnish and plate it.

I was wowed by Chef Teo’s excellent knife skills as he sliced and diced the cucumber with utmost precision.
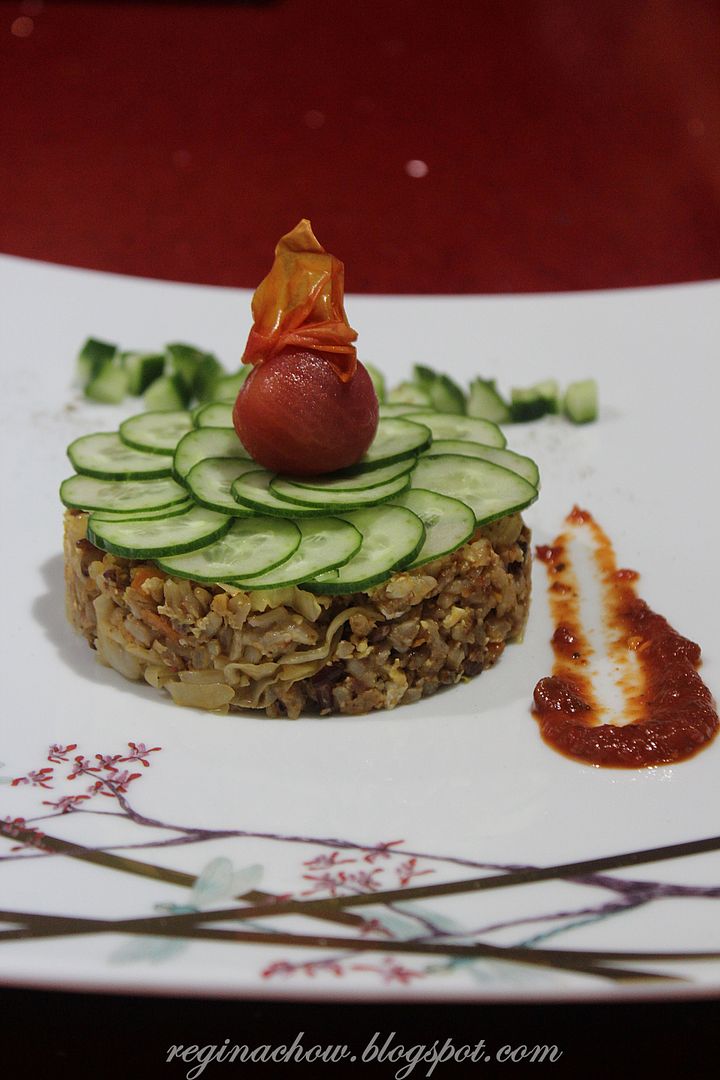
Finally, here’s presenting the final dish to be served. It is amazing what a little cherry tomato and a dash of sauce did to bring this dish to life by adding a touch of colour to the otherwise neutral colour palette. Taste-wise, the rice was a tad too spicy for me and I am not very used to the texture of brown rice, but I give this dish top marks for health and nutritional benefits.

For more quick and easy gourmet-style recipes, remember to check out 30Minute Cookin!
 With 30Minute Cookin’, we can all cook like chefs and recreate these culinary delights in our own kitchen!
Share:
Uncategorized

Hair Tutorial: How to Style a Low Twisted Bun in 5 Minutes!

December 11, 2013 by Regina Chow No Comments

As promised, here’s another one of my 5-minute hair tutorials! 
My very thoughtful hubby booked a room at Equarius Hotel over the weekend in celebration of my birthday. We spent most of our time outdoors, either frolicking by the beach or queuing up for rides at Universal Studios. To beat the heat and humidity, the easiest and fastest way was to bun up my hair! Instead of the usual top knot bun, I went for a low bun accompanied by hair twists on both sides, a style which I personally feel is pretty Korean.
All you need to complete this hairstyle are a hair tie and a hair clip. It’s an incredibly easy way to get your hair off your face and yet look impeccably groomed.

 Step 1
Start twisting your hair on one side, beginning with the outer section and slowly working your way to the middle of your hairline.

Step 2
Once you’ve reached the middle, clip the twisted section with a bobby pin or hair clip. Then proceed to twist your hair on the other side, starting from the outer section.

Step 3 
Keep twisting your hair on the other side till you reach the middle of your hairline. Now you’ll have two beautifully twisted sections.

Step 4
Gather the twisted hair sections at the nape of your neck and start twisting the ponytail.

 Step 5
Twist the ponytail tightly as this would help to secure the twisted sections and prevent them from unraveling.

 Step 6
Twirl the twisted ponytail into a bun and secure it with a hair tie. I’m using a brown hair tie as it blends in with my hair colour.
Step 7
If you want to, you can use a couple of bobby pins to secure any loose strands. I chose to leave my bun as it is.
Step 8
Finally, add a pretty little bow in the middle to complete the look! Of course, you can also choose to omit this step if you prefer to do without hair accessories. πŸ˜‰
Hope you enjoyed this tutorial! Have a great mid-week!
Share:
Uncategorized

Hair Tutorial: How To Style An Updo In 5 Minutes!

November 24, 2013 by Regina Chow No Comments
I love experimenting with new hairstyles and am constantly on the lookout for new styles that are easy to pick up and don’t take up too much of my time since I’m always on-the-go.  This twist updo that you see here is one of my favourite go-to hairdos as it is a breeze to style and takes all but 5 minutes!

This updo is so versatile, it can easily take you from day to night. I personally think it would make a fantastic hairstyle for bridesmaids too.
Step 1

Separate your hair into 2 parts down the middle.

Step 2
Separate each part further into 2 sections. You will end up with 4 sections in total.

Step 3

 Twist each section, starting with the outermost section.
Step 4
 Roll the twisted section into a little bun.
Step 5

Secure the ends of the bun with bobby pins. I prefer to use brown bobby pins (as opposed to the black ones) as they blend in much better with my hair colour. If you’re interested, I got mine from Watsons.

Step 6
Repeat steps 3-5 until all your hair is twisted and bunned up!
Steps 7 & 8
Accessorize with a flower pin or a cute bow of your choice to complete the look!

Here’s a pictorial recap of all the steps:
Hope you found this tutorial useful! 
I’ll be sharing more hair tutorials here, so do keep a lookout for them!
 

Share:
Uncategorized

How to create a Hair Bow Half Updo

October 7, 2012 by Regina Chow 3 Comments
You can probably think of this post as a continuation of my “How to create a Hair Bump (without hairclips)” post. I love half updos, and this time, I drew inspiration from Pinterest yet again on how to create a hair bow. 
 
I thought I would share this tutorial with everyone because it really works and is incredibly easy to pick up! All you need is a clear elastic band and some bobby pins. πŸ˜‰
Credits: http://blog.hairandmakeupbysteph.com/2012/07/how-to-hair-bow.html
The amazing thing about Pinterest is the wealth of information and pictures that you have access. There’s something for everyone, regardless of where your area of interest lies, be it fashion, interior design, photography, food, inspirational quotes or hair and make-up. 
The list goes on! 
 

Follow Me on Pinterest
 

You can also click on the links below to follow me on:
Facebook
Twitter
Have a wonderful Sunday!
Share:
Uncategorized

How to create a Hair Bump (without hairclips!)

October 4, 2012 by Regina Chow 2 Comments
I have been growing out my hair for a while now and it has finally grown past my shoulders! I had permed hair for years (even when my hair was short, I did body perms) and I’m really not used to styling straight hair. In fact, I’m contemplating perming it soon. Straight hair is so flat and limp, which irks me, but at the same time, it has proven to be completely hassle-free. Decisions decisions…
Anyway, besides braiding my hair and tying it up into a pony tail, I’m going to show you my go-to hairstyle on lazy days when I still want to look sufficiently groomed. It’s a half updo which involves a hair bump. I actually learnt how to create a hair bump without using any hair clips at all through this tutorial on Pinterest and it’s such a life-saver!

Are you on Pinterest too? πŸ™‚

Follow Me on Pinterest
 

I posted the link to this tutorial previously, but for your easy reference, I thought I’ll just post the pictures here (including other easy-to-do styles too). πŸ™‚  For the half updo hair bump style, refer to the last 5 pictures below! 

Note: I use clear elastic bands instead of thicker rubber bands shown. They’re softer and make styling so much easier.

Source: cdn.duitang.com via Regina on Pinterest

Share:
Uncategorized

Hairbun Tutorial (Cheat :P)

February 21, 2012 by Regina Chow 3 Comments
I’ve been wearing my hair in a bun for a while now because it’s so easy to style and great for beating the heat too! At the request of some readers, I’ve also done up a tutorial to show you how my bun is done.


Step 1: First, tie your hair up into a bun with a rubber band.

It should look something like this when tied, but I usually make a bigger loop with my fingers to shorten the ends that are sticking out. That way, it’s easier to tuck the ends into my bun hairpiece, which you’ll see next.

If your hair is too short, you can either tie a lower bun or pin up the hair at the bottom with bobby pins.

Step 2: Here’s my bun hairpiece, in the style of the Japanese odango. You can get this from http://girlhairdo.com.

I bought a couple of hair pieces in different styles from Grace, the owner of girlhairdo.com. She found various hairpieces in my hair colour and taught me how to use them. πŸ™‚


The bun hairpiece comes with an elastic drawstring which you can pull to tighten so that it grips on to your hair.


Step 3: Loosen the drawstring around the bun hair piece and fit it over your bunned up hair. It’s almost like putting on a dress for your hair. πŸ˜›


Step 4: Pull the drawstring to tighten the grip of the hair piece on your hair. You can try shaking your head a little to test if it fits well. If it’s too loose, it may fall off when you encounter strong winds or when you run. I’m sure you wouldn’t want to scare off passers-by with a huge hairball!

Step 5: Go around the bun hair piece with the drawstring and tuck the ends of the string, together with the ends of your hair, into the bun hair piece.


There, that’s how I style my bun! My hair looks impeccable and neat with my bun hair piece. Styling has never been easier! πŸ˜€
Share:

About Me

Hi! My name is Regina and I am a style, beauty and travel enthusiast who enjoys writing, photography and letting my creative juices flow.

My blogging journey has been nothing short of exciting. I was recently named the winner of Her World Magazine’s Estee Lauder Style Superstar Awards 2016. My blog was also awarded Best Fashion Blog (Grand Winner) at the Singapore Blog Awards 2014. The year before that, it won Best Online Shopping Blog at the Singapore Blog Awards 2013.

Additionally, it is listed as one of the 10 interesting blogs on Singapore by AsiaWeb Direct (http://www-singapore.com/blogs.htm). I was also featured on both local and international mainstream media for my views on style, fashion and online shopping:

The Straits Times (14 Oct 2014)

The Business Times (14 Oct 2014)

My Paper (13 Oct 2014)

CNBC ("Pricey Singapore: Savvy shoppers go online" - 28 Dec 2014)

For advertorials/partnerships, feel free to contact me at regina.chow@gmail.com.

Thank you!

Follow on Instagram

Searching for a post?

Recent Posts

  • Cute Press Intensive Renewal Skincare: Restore Your Youth in 14 Days
  • Review: Pico Laser for Pigmentation at Clifford Clinic
  • Review: Profhilo at Clifford Clinic
  • Tokyo Bust Express Review – Improving Your Bust Line Naturally
  • BottomSlim Review – Firmer Thighs after 1 Session!

Recent Comments

  • Regina Chow on My Fat Reduction Journey with CoolSculpting at Halley Medical Aesthetics
  • Fiona Ng on My Fat Reduction Journey with CoolSculpting at Halley Medical Aesthetics
  • Regina Chow on Travel: Why Tibet Is Worth Visiting
  • Regina Chow on Blackmores Natural Vitamin E Cream Review
  • Herbert on Why I Would Seek A Divorce

Archives

  • May 2023
  • October 2022
  • July 2021
  • September 2020
  • June 2020
  • May 2020
  • February 2020
  • January 2020
  • December 2019
  • November 2019
  • October 2019
  • August 2019
  • June 2019
  • May 2019
  • April 2019
  • December 2018
  • October 2018
  • September 2018
  • August 2018
  • July 2018
  • June 2018
  • April 2018
  • March 2018
  • February 2018
  • January 2018
  • November 2017
  • September 2017
  • June 2017
  • April 2017
  • March 2017
  • February 2017
  • January 2017
  • December 2016
  • November 2016
  • October 2016
  • September 2016
  • August 2016
  • July 2016
  • June 2016
  • May 2016
  • April 2016
  • March 2016
  • February 2016
  • January 2016
  • December 2015
  • November 2015
  • October 2015
  • September 2015
  • August 2015
  • July 2015
  • June 2015
  • May 2015
  • April 2015
  • March 2015
  • February 2015
  • January 2015
  • December 2014
  • November 2014
  • October 2014
  • September 2014
  • August 2014
  • July 2014
  • June 2014
  • May 2014
  • April 2014
  • March 2014
  • February 2014
  • January 2014
  • December 2013
  • November 2013
  • October 2013
  • September 2013
  • August 2013
  • July 2013
  • June 2013
  • May 2013
  • April 2013
  • March 2013
  • February 2013
  • January 2013
  • December 2012
  • November 2012
  • October 2012
  • September 2012
  • August 2012
  • July 2012
  • June 2012
  • May 2012
  • April 2012
  • March 2012
  • February 2012
  • January 2012
  • December 2011
  • November 2011
  • October 2011
  • September 2011
  • August 2011
  • July 2011
  • June 2011
  • May 2011
  • April 2011
  • March 2011
  • February 2011
  • January 2011
  • December 2010
  • November 2010
  • October 2010
  • September 2010
  • August 2010
  • July 2010
  • June 2010
  • May 2010
  • April 2010
  • March 2010
  • February 2010
  • January 2010
  • December 2009
  • November 2009
  • October 2009
  • September 2009
  • August 2009
  • July 2009
  • June 2009
  • May 2009
  • April 2009
  • March 2009
  • February 2009
  • January 2009
  • December 2008
  • November 2008
  • October 2008
  • September 2008
  • August 2008
  • July 2008
  • June 2008
  • May 2008
  • April 2008
  • March 2008
  • February 2008
  • January 2008
  • December 2007
  • November 2007
  • October 2007
  • September 2007
  • February 2007

Categories

  • Advertorial
  • Beauty
  • Fashion
  • Lifestyle
  • Motherhood
  • Personal Thoughts
  • Travel
  • Uncategorized

Meta

  • Log in
  • Entries feed
  • Comments feed
  • WordPress.org